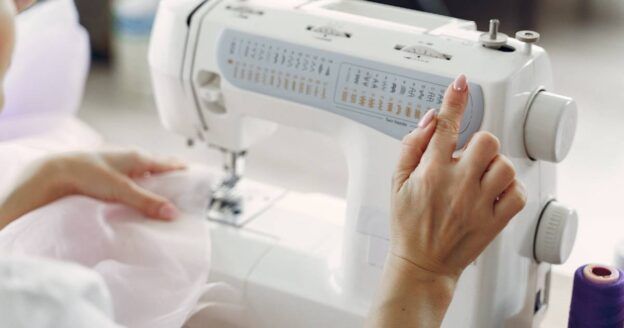
How to Put Fabric on Buttons: A Step-by-Step Tutorial

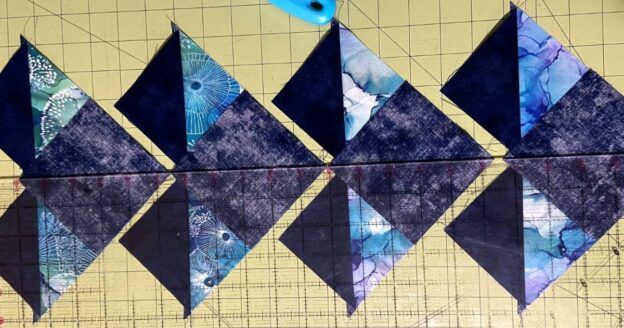
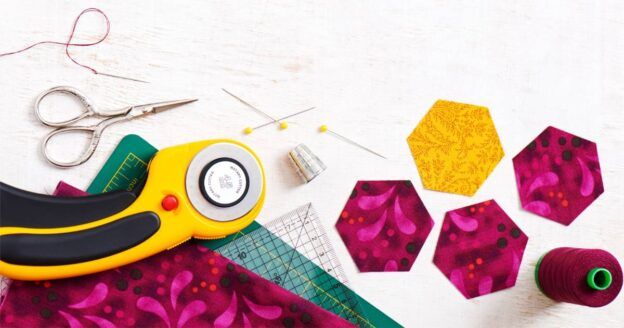
If you’re someone who loves to sew or craft, you probably have plenty of fabric scraps lying around your workspace. Instead of throwing them away, why learn how to put fabric on buttons and put those scraps to good use? With just a button-making kit and a few basic supplies, you can easily create unique buttons to add a personalized touch to your clothing, accessories, or even home decor projects.
In this article, we’ll take you through the simple steps of making fabric buttons and show you some creative ways to use them in your DIY projects. You can make one large decorative button to wear like a brooch or a set to add a handmade touch to a cardigan. So, grab your supplies and let’s get started!
Directions for Covering Your Buttons
1
Cut out the button-tracing template (on the back of the button kit box) or make your own. Place the template on fabric. Trace around the outside edge of the template.

2
Cut out the fabric circle, and place it, right side down, on top of the mold of the button assembler. Place a button dome over the top, keeping the fabric centered within the mold.

3
With your fingers, push the dome and fabric into the mold. Smooth the edges of the fabric down against the metal dome. The fabric won’t lie completely flat, but fold over as much of it as possible.

4
Lay the flat button back on top of the fabric and button dome already in the mold, shank up. Use the blue cap tool to push the back into place. It will make a popping sound when it is set. Turn the mold on its side and gently push the assembled button out of the mold.

And now you know how to put fabric on buttons in four easy steps! I love using these button-making kits to decorate tufted pillows (another one of my favorite scrap-busting projects). Still need some inspiration for getting rid of your extra fabric? You can find many fabric art and home dec projects that use scraps or small pieces of fabric in the Modern Patchwork Spring 2014.

Vivika Hansen DeNegre
Enjoying this article? Sign up for our newsletter!
*This article contains affiliate links that helps us earn a small commission from purchases — at no additional cost to you. We are grateful for your support!


Join the Conversation!