An Accurate ¼˝ Seam Allowance | Lessons
https://www.youtube.com/embed/MZVRs9CvCZU
Use a simple sewing test to prepare your machine to sew accurate ¼” seams. Kathy Patterson demonstrates this quick but essential step for accurate piecing.
Download the Instructions
Click here to download a PDF of these instructions. (Problems downloading our PDF? Click here for troubleshooting tips.)
Step-by-Step Instructions
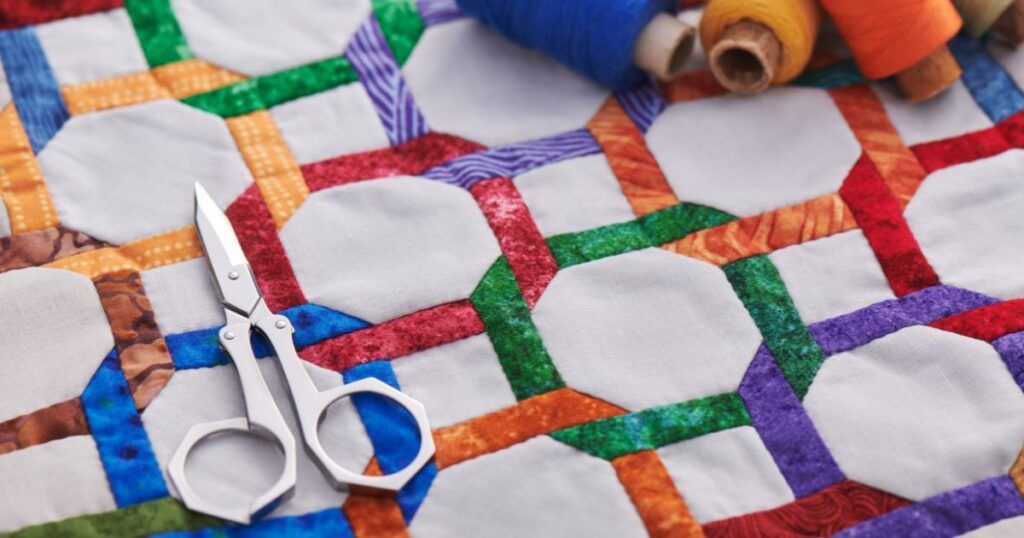
Sewing with a consistent ¼” seam allowance is important in most quilting projects, and there’s more to it than just using a ¼” (patchwork) foot on your sewing machine, or sewing ¼” from the raw edges of your patches. Even if you have a ¼” foot, your seam allowances may vary. Also, when patches are opened and pressed, a bit of fabric is lost in the seam, which can leave you with sewn units that are slightly too small unless you take this into account when stitching. Even slight differences can significantly affect your results in a project with many seams.
To establish or check your ¼” seam allowance:

Thread
Use a fine, low-lint thread in both the top of your sewing machine and the bobbin (and use the same thread throughout your project).
 Mark
Mark
 Mark
MarkMark ¼” from the center of the machine needle by placing layered masking tape, adhesive moleskin, or another seam guide on the machine bed.

Sew
Sew together 2 patches each 1½” wide, using the tape as your guide.

Press
Press the seam flat to set the stitching.
Open
 Open
OpenOpen patches and press.
Measure
 Measure
Measure the sewn unit. It should be exactly 2½” wide from raw edge to raw edge. If unit is wider than 2½”, move tape a bit further away from needle and try again. If unit is narrower than 2½”, move tape a bit closer to needle and try again. Repeat the test until you are consistently sewing an accurate ¼” seam.


Join the Conversation!