Batik Sampler: Part 3

This BOM program is brought to you by AccuQuilt GO! Die-cutter and Anthology Fabrics.
Sometimes we quilters can be kind of hard on ourselves. We see finished quilts that look perfectly designed, perfectly pieced, and perfectly quilted, and we want the same for our quilts! Really????
For month 3, I made a big blunder on the School Girl’s Puzzle Block. Later, you’ll see my finished block doesn’t look anything like the pattern. Once I discovered the mistake, I had a few choices. Obviously, I could have picked out oodles of stitches and remade the block, but it was late in the day and I was getting hungry…maybe even “hangry”. Instead, I decided to hit the playground, so to speak. I “played” with what I had, and came up with a new block. Different? For sure! Better? It’s a matter of opinion, but I liked it enough to keep it!
The best part is that all of this led to a bit of serendipity! At first, I figured I could anchor my piecing error in a little quilting folklore. I vaguely remembered hearing something about an Amish tradition to intentionally embed a mistake into each quilt for the purpose of staying humble. I researched this supposed custom, and it turns out that historians generally believe it to be untrue. However, at the same time, I discovered the amazing work of Janneken Smucker. Jannekan is a history professor who knows A LOT about the narrations and traditions of Amish and Mennonite quilt making. Of course, my blog can’t do justice to her expertise. If you’re interested, you can find video courses featuring Janneken Smucker about topics including Amish Quilts and how to use a quilt index.
One more thought on this perfection thing…my earliest quilts have design features that I now would have done differently. They have piecing mistakes. The quilting is certainly basic. But my family still loves them, and the quilts return the favor by keeping my loved ones warm and comforted. For me, this is a great trade-off!
Month 3 – Windmill Blocks:
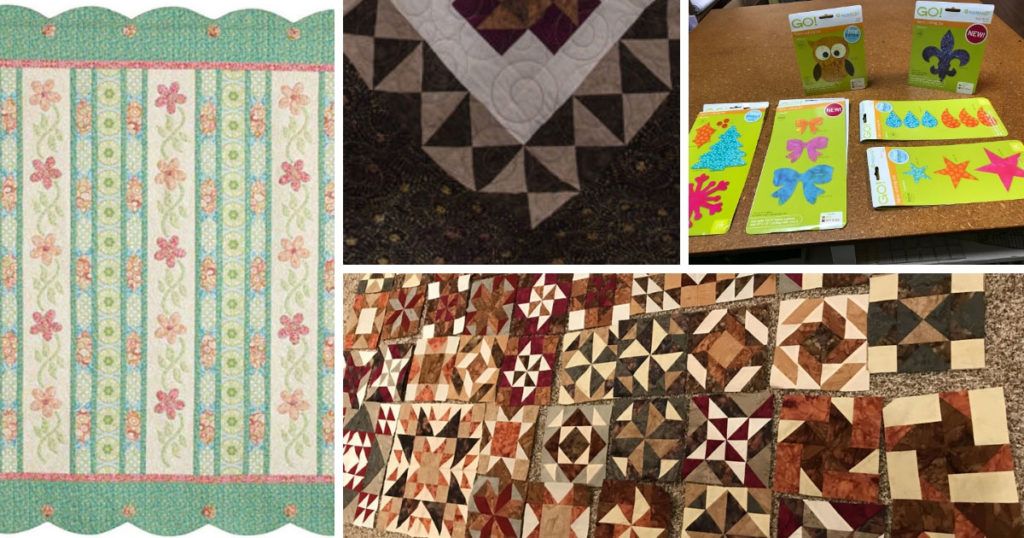
I got my patches cut out and worked with color arrangement. Since I will make 4 Windmill Blocks, I played with the different combinations until I got what I liked!

Using the instructions, I started with the Quadrant Units. I chain-pieced the contrasting #5 triangles, in the same manner as last month. Once joined, I noticed a few of the triangles weren’t exact matches and determined that it was probably due to my less-than-perfect cutting. (Remember – I’m using the traditional cutting tools, but this isn’t likely to happen if using the AccuQuilt GO! Die-cutter). So I decided to trim up the triangles.

After adding the next 2 #5 triangles and pressing, I wanted to even up the unit while being careful with my trimming so that I could preserve the seam allowance.

Now it’s time to get to the main attraction…the windmills! Being careful to keep the colors alternating, I joined 2 #4 triangles, making a unit that will be joined to the previously-made corner unit. When stitching the units together, I sewed about 1 “thread width” away from the intersection, which helps create a sharp point once pressed open.

After making all 4 quadrants, I joined two at a time and pressed the seam allowances in opposite directions so I could use the nested seams trick from last month.
[Insert Image: Pressing the Seam Allowance]
The final step is to join the two halves. Once joined, I pressed the seam allowance open.

Now I know there are some quilters who shudder at the thought of seam allowances pressed open this way. In truth, I may be a rule breaker here, but to me it makes sense because there are a lot of layers of fabric coming together at the center point. Aside from creating bumps in a quilt, those points can be hazard zones when it comes to broken needles while quilting.
In not much time, all four of my Windmill Blocks are finished and looking great!

Month 3 – School Girl’s Puzzle Block:
I love the name of this block. It strikes me as old-fashioned and fun! I poked around the Internet, hoping to find out how the block got its name. Well, I really couldn’t find much, but it seems to have all the clever elements of a children’s puzzle, so that’s good enough for me!

Things started out well enough with this block. I knew I needed to make 8 Quadrant 1 and 8 Quadrant 2 Units. The Quadrant 1 Units are simply a variation on a Four-Patch, using 2 Triangle-Squares and 2 standard 2-1/2” squares. Easy peasy!

Onto Quadrant 2, which is where things went wrong for me!

I didn’t notice my mistake until I started to put all the quadrant units together to create the School Girl’s Puzzle Block. I knew that to fix this, a lot of stitches would need to be ripped out, and possibly some Y-seaming would need to be done. Ugh!
Instead, I thought I’d have a little fun and see what happened when I moved things around. First I came up with this:

And then this:

I actually liked the way the diamond shape brought some simplicity to the block. Plus it seemed to give me a place to “rest” my eyes. This can be good in a quilt that has a lot of design, pattern, or color “stuff” going on. Since the block size stayed consistent with the original, I decided to keep the new block. If anything, this small change makes my quilt unique!

In the end, I decided to forego the School Girl’s Puzzle Block, keep the new diamond block, and most important, be content with the result!
Happy Quilting!
Annette Falvo


Join the Conversation!