Binding | Lessons

Piped Binding |

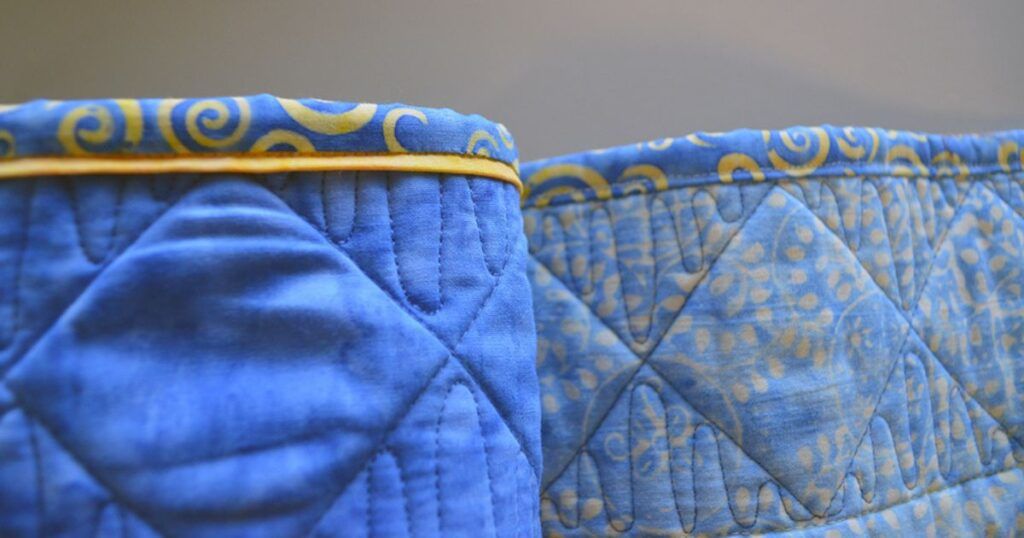
Piped Binding
Piped binding can be the perfect finishing touch for your quilt. We love the method and the tool created by Susan K. Cleveland. Her Groovin’ Piping Trimming Tool is indispensable for this task. Visit piecesbewithyou.com for ordering information.
1.Preparing the Strips and Cording For the piping, cut enough 11/4″-wide bias strips to equal the quilt’s perimeter plus 10″. For the binding, cut 21/2″-wide strips (straight or bias) to equal this same length. Join each set of strips with diagonal seams. Press the seams open and trim seam allowances to 1/4″. With wrong sides together, press both piping and binding strips in half lengthwise. For best results, use 1/16″ drapery cording. It is very important to preshrink the cording by steaming it thoroughly with an iron.
2.Making Perfect Piping Match the thread color to the piping fabric. Put a zipper foot onto the sewing machine. (Other specialty foot options are covered in Susan’s instructions.) Tie a knot in the end of the cording and tuck the cording tightly into the first few inches of the fold. Lower the foot next to the cording and adjust the needle position so it will pierce the fabric close to the cording but will not catch the cording. Place a stack of about 10 sticky notes beside the fold, just in front of the feed dogs, to help the piping feed in smoothly. Sew next to the cording (photo 1).
Use the Groovin’ Piping Trimming Tool to trim the seam allowance of the piping to 1/4″ according to the instructions (photo 2).

3.Attaching the Piping Layer and baste together the backing, batting and quilt top. Sew through all the layers less than 1/4″ from the quilt top’s edges. Quilt the quilt. Do not trim the excess backing and batting yet. Load the bobbin with thread to contrast with the quilt backing. Aligning raw edges and leaving a 1″ tail at each end, attach the piping to one side of the quilt front by sewing directly over the previous line of stitching (photo 3).

Repeat for the other sides of the quilt. Trim the extra backing and batting even with the cut edges of the piping. (Susan’s tool works well for this task, too.) Trim the piping tails even with the quilt edges. 4.Attaching the Binding and Finishing Aligning the raw edges, lay the binding over the piping (photo 4).

The end of the binding should be about 10″ from the corner of the quilt as shown. Pin the binding in place. Turn the quilt over so the binding is on the bottom. Sew one thread to the left of the stitching which attached the piping to the quilt (photo 5).

Stop at the intersection of the piping stitching lines and backstitch. Turn the quilt over and miter the corner as described in “Basic Lessons.” Turn the quilt back and sew the next side in the same way. Repeat for all the sides. Join the ends of the binding with a diagonal seam and finish sewing the binding to the quilt. Wrap the binding to the back of the quilt and blind stitch in place by hand. You’ve just given your quilt the crowning glory it deserves!
Many more helpful tips and tricks are covered in Susan’s instructions, included with the Groovin’ Piping Trimming Tool. Find ordering details in Quiltmaker May/June ’08 (No. 121) on page 16, or visit Susan’s website at piecesbewithyou.com.


Join the Conversation!