Cyanotype Fabric Fun: 5 Tips for Successful Prints
Now that we are mid-way through December, there is the realization that a new year is just around the corner. This is my favorite time of year, not only for the palpable feelings of joy and thoughtfulness that swirl in the air, but because it’s a time to reflect on the year before it ends. It’s an ideal stretch of the year to think about goals met and others still in progress, about projects we’ve made, laughs we’ve shared, and art supplies we’ve yet to use up (or worse, not used at all).
As I’m currently in the midst of rearranging and organizing my studio space, I’m embarrassed to admit to the number of art supplies, quilt kits, and aspirational projects I’ve got stowed away going unused and unnoticed. Amongst my Thermofax screens, stacks of fabric, and skeins of embroidery floss I came across a package of pretreated cyanotype fabric I forgot I’d squirreled away!
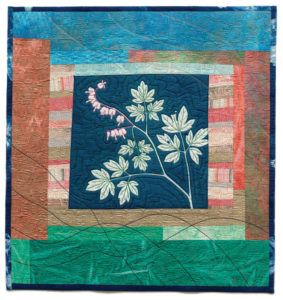
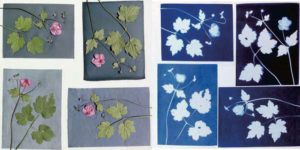
My supply purchases almost always come attached to lofty plans for a big project (that I usually don’t have time to make). True to form, the cyanotype fabric was another ambitious purchase made after I was enchanted by the gorgeous art quilts of Sue Reno. Since I don’t see myself having time for a full on quilt showcasing my cyanotype prints, why not play with them now and even use them to create gifts?
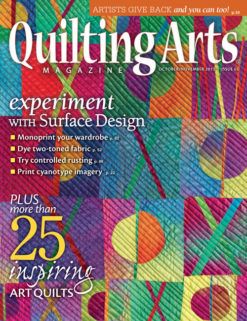
Before breaking open the package I turned to a couple of articles from the maven of cyanotype herself, Sue Reno. Here is a brief excerpt from her article “Botanist’s Delight: Create Your Own Cyanotype Prints on Fabric” from the October/November issue of Quilting Arts Magazine I thought would be helpful for using cyanotype fabric—whether it’s for the first time, like me, or the hundredth time.
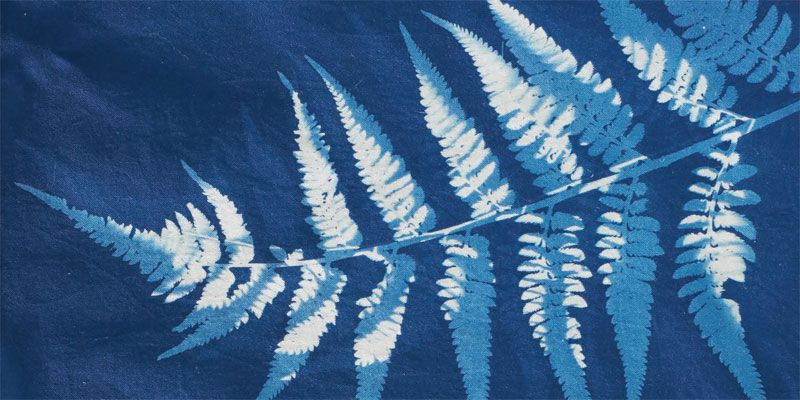
What is Cyanotype?
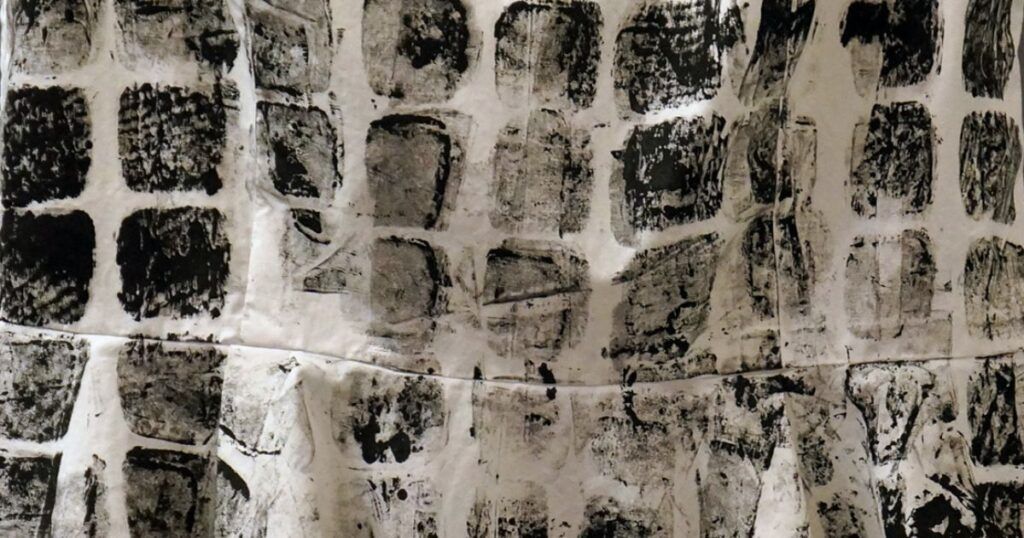
Cyanotype is a photographic process discovered by Sir John Herschel in 1842 that uses a mix of chemicals to sensitize paper or fabric prior to exposure to ultraviolet light. Also known as blueprinting, it produces permanent prints in a brilliant Prussian blue color.
Plan for Successful Cyanotype prints
1. Use the treated fabric within six months of purchase for the best results.
2. Check the layout for loose threads or stray bits of plant material before setting it outside to print—anything that masks the fabric will show up in the print.
3. Make a note of the exact time you set a print outdoors for exposure—it’s easy to forget otherwise.
4. Create a small sample and rinse it out thoroughly to check the exposure time under your current conditions before committing to a larger piece. With experience, you will learn to judge a completed exposure by the color of the fabric.
5. Don’t stress! The process is easy and gives good results under a variety of conditions. Even the rare “failed” print can be altered with fabric paints or cut up and used in patchwork with interesting results.
Sue takes the uncertainty out of learning to use pretreated cyanotype fabrics making it easy to add this technique to your repertoire. I’m already thinking of possible masks and film negatives to use on my stash.
Don’t have a pack of cyanotype fabric hiding in your studio?
Check out the Easy Cyanotype Fabrics Kit. It has everything you need to start your next surface design project, including pretreated fabric sheets, a cyanotype sensitizer set so you can make these blueprints on your own fabric or paper, and expert instruction from Sue. It makes the perfect gift for your fiber art friends, or even yourself!
Wishing you a merry and bright holiday season!


Join the Conversation!