Easy Image Transfer Techniques for Photo Quilts and More – Quilting Daily
| Transferring an image to fabric with Citrasolv is one of several image transfer techniques described in In Stitches Vol. 11. Art by Jane Davila. |
As a result, I’ve been snapping pictures right and left. Mostly they end up on Facebook, but I’d like to think some might work their way into my fiber art.
There are several ways to use digital imagery in your quilts. You can:
- Create a portrait quilt by using fabric pieces and thread to “paint” the features, shadows, and highlights of the person from the photo.
- Use pictures from your trip to the seashore or the country as inspiration for a landscape quilt in a realistic or stylized way.
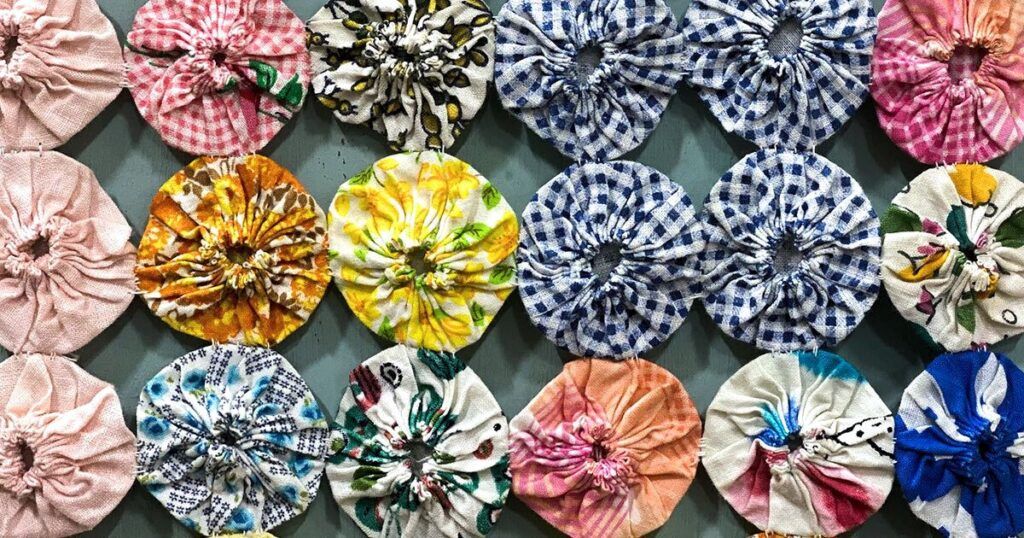
- Print the photos using an inkjet printer onto prepared fabric or transfer paper and use the image (or several) to make a photo quilt.
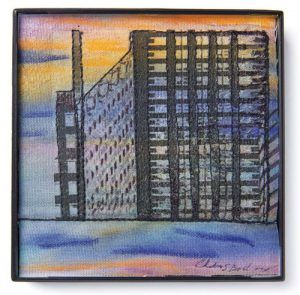
- Transfer your photos onto fabric using gel medium or other wet transfer method. (Note: These methods are for art quilts and other fiber art that will not be washed.)
In the new edition of the interactive eMag Quilting Arts In Stitches, Vol. 11, Editor Jane Dávila reviews several different photo printing methods and image transfer techniques, including a very simple one using Citrasolv® Natural Cleaner & Degreaser:
1. Print an image in reverse onto plain copy paper using a laser printer (or toner-based copy machine).
2. Cut the copy paper around the image, and place the paper face down onto the fabric you have chosen.
3. Dab a small amount of Citrasolv onto a foam brush. Apply the Citrasolv to the back of the copy paper, holding it tightly or taping it down to prevent shifting. The Citrasolv will immediately saturate the paper, and the image will appear on the fabric. Only a very small amount of Citrasolv is needed-just enough to moisten the paper but not soak it.
4. Burnish the back of the paper with a bone folder or spoon to transfer the image. Be sure to work on a smooth surface to ensure a crisp transfer.
5. Remove and discard the paper, and allow the fabric to dry before using it.
In Stitches Vol. 11 is full of ideas, tutorials, videos, and slide shows to help you turn you photos into beautiful quilts and fiber art creations. Download it now, and start creating with photos and fabric today.
P.S. What’s your preferred method of turning photos into quilts, and why? Leave your comment below.
-
Quilting Arts in Stitches 11 for PC and Mac
description


WE have tried this technique today with no success we have used the ink jet printer as well as the laser jet printer. Our pictures would not transfer…..do you have further suggestions?
We have tried this method today with a ink jet printer as well as a laser jet printer…..we have had No success……do you have further suggestions…