Narrative Embroidery: Embellish Your Story Quilts with Stitch
Working on quilts by hand is relaxing, there’s no doubt about it. Unless you are in a hurry, there is a rhythmic and meditative quality to pulling a needle and thread through cloth. Whether you are embellishing a quilt with beads, or embroidering on a quilt top, there’s so much you can add with handwork.

And although some hand stitching is a chore – I admit to having choice words for adding a binding by hand – most is enjoyable and even fulfilling.

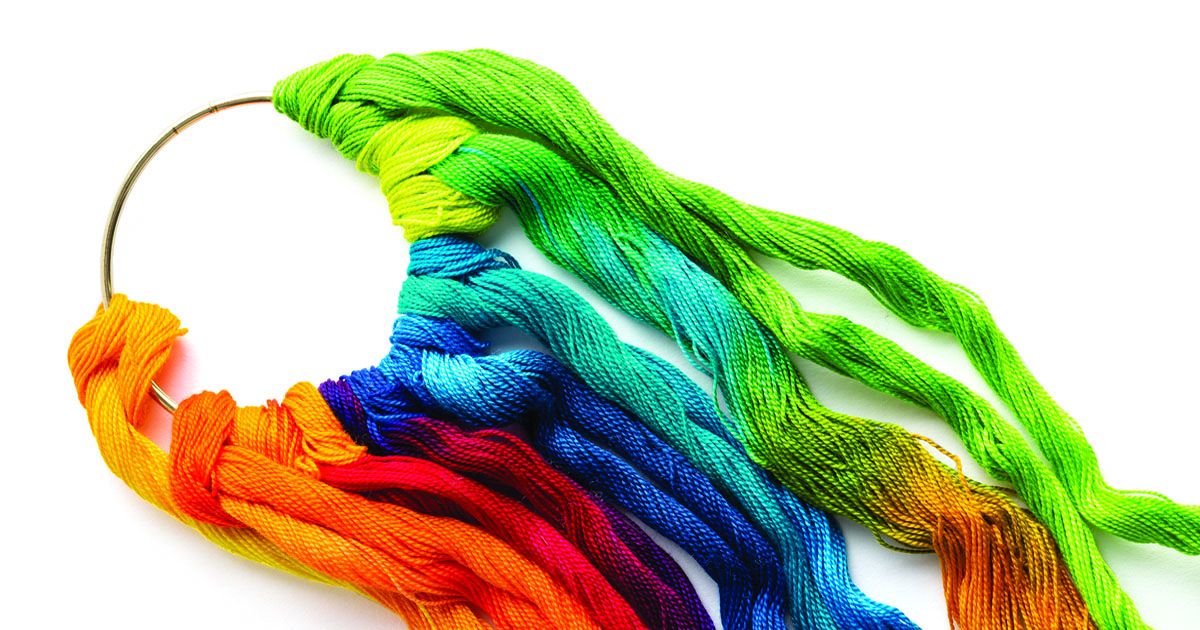
Take, for example, the narrative embroidery quilts of Laura Wasilowski. Laura’s work is small enough to take with her on-the-go, and each compact piece packs a punch. Her story quilts are vibrant, pithy, and powerful… and they are all embellished with hand dyed threads and a myriad of embroidery stitches. We’ve featured Laura’s work numerous times in Quilting Arts Magazine as well as on Quilting Arts TV, and love the way she captures the little scenes in life and turns them into playful vignettes. Laura’s article in the October/November 2018 issue of Quilting Arts explains how she takes an idea and turns it into a charming little embellished art quilt.
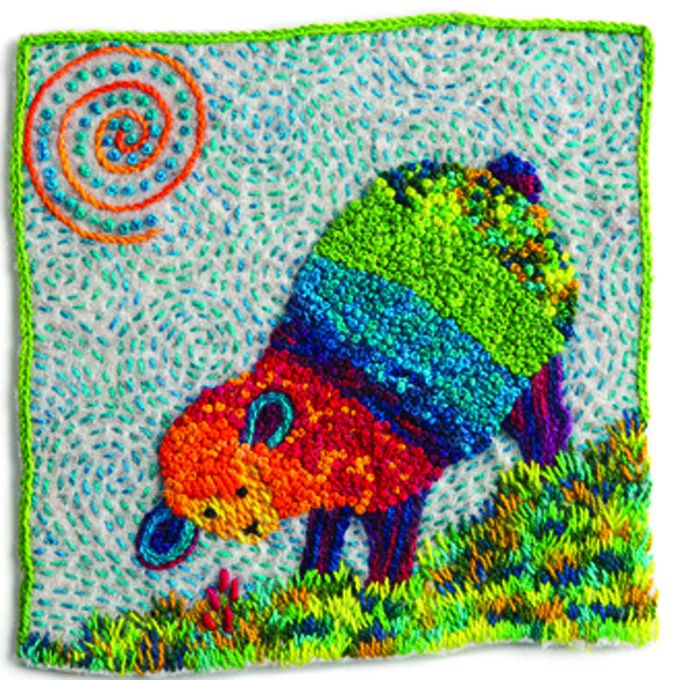
For Laura, narrative embroidery – or storytelling with needle and thread – is both a joy and a challenge. She finds inspiration when she comes across a captivating phrase, idiom, or story, agonizing over the challenge of how to illustrate the idea in fabric and thread. If you’d like to design your own free-form embroidery, begin with a sketch such as this sheep.

1. Trace the sketch onto tracing paper, and then pin the tracing to wool fabric. 2. Follow the marked lines and stitch the outline through the paper and wool using running stitches, then remove the paper. The stitches will be removed after the design is stitched. 3. Fill in the areas with different colored threads and a variety of stitches. In the quilt above, the ears and legs are stitched with stem stitch, the face is stitched in yellow, and the wool is a bullion stitch. French knots create the tail. 4. Remove the running stitches and add more embroidery for the grass, background, and sun. Not sure of the difference between a bullion stitch and a French knot? Here’s a handy illustration for six of Laura’s go-to stitches.

Inspiration is all around us if we just know where to look. You can find lots more inspiration, technique, and ideas in this month’s Quilting Arts magazine.
Best,


Join the Conversation!