Improv Log Cabin Quilts
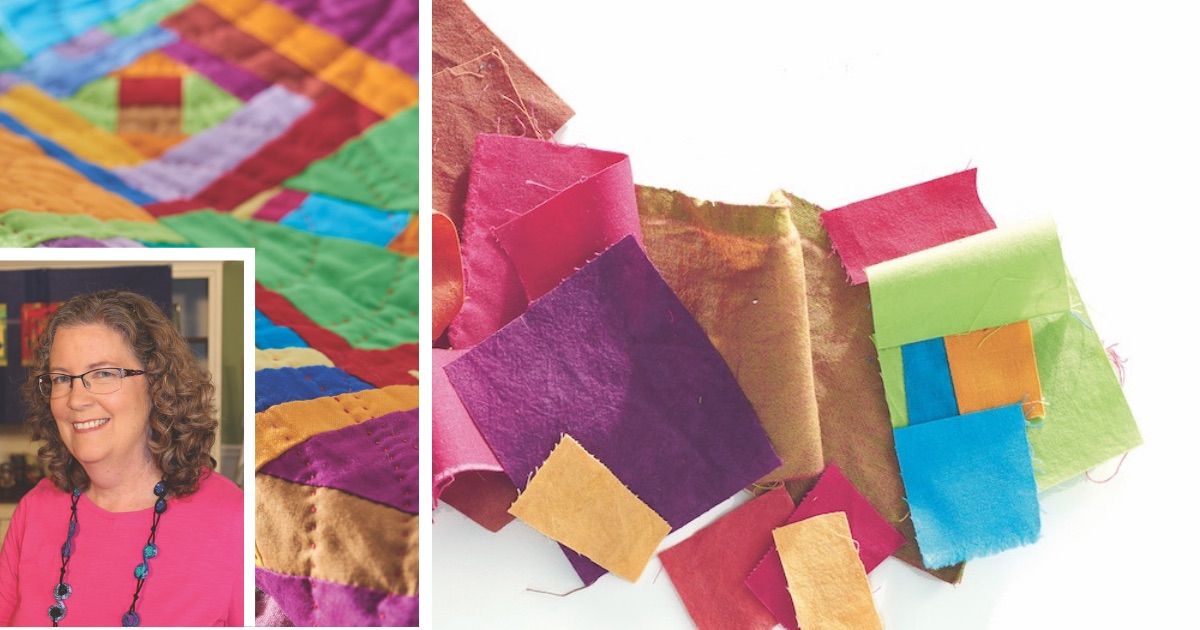
Master art quilter Cindy Grisdela explores the world of log cabin quilts—with a twist. She constructs her log cabin blocks using an improvisational method and often incorporates non-standard materials, such as silk. Read on for Cindy’s process and helpful tips.
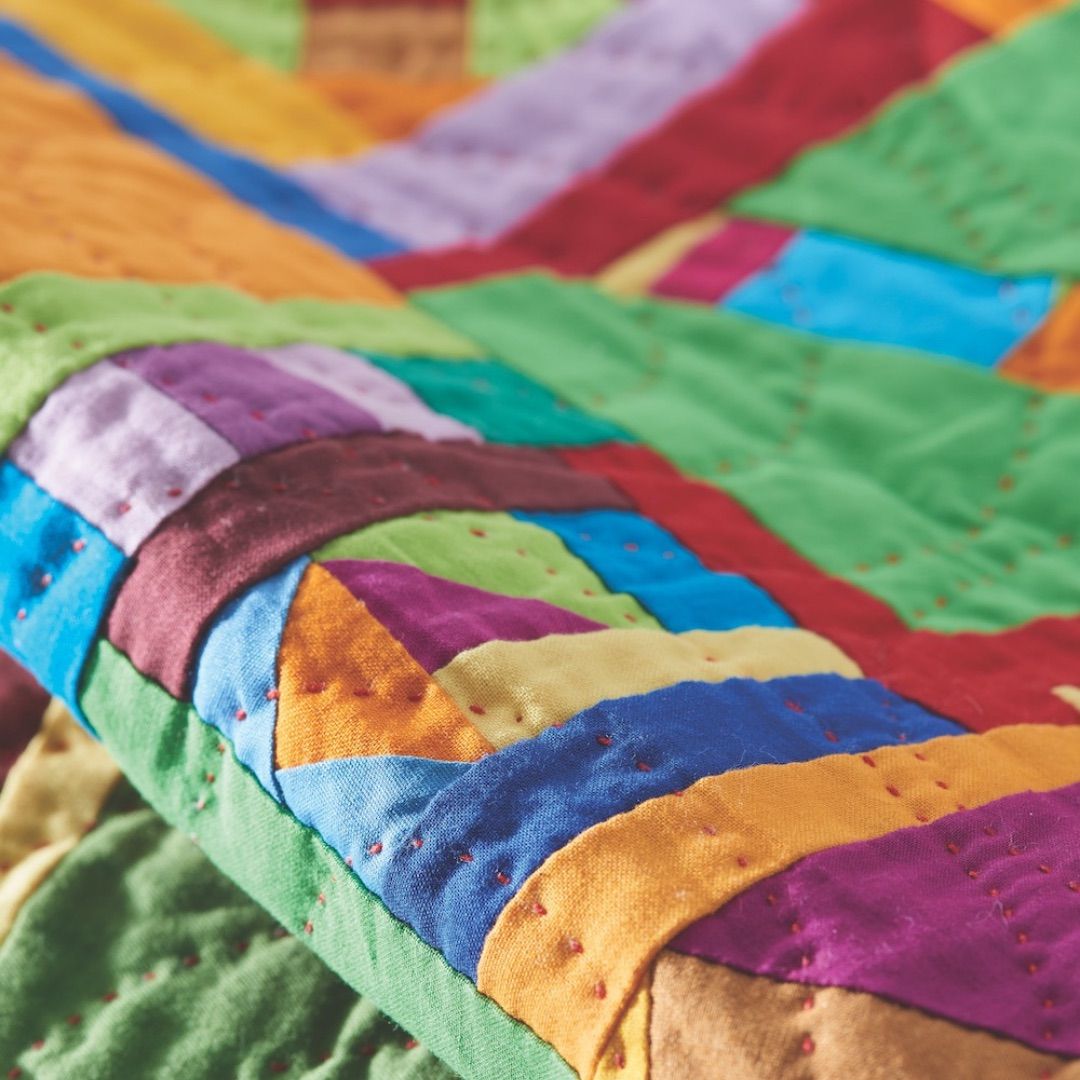
My improv blocks are based on the traditional Log Cabin, but have a more contemporary feel. I keep scraps from other projects organized roughly by color in baskets in my studio. That way I have the raw materials close at hand when I’m ready to create new blocks. My improvisational process has no rules and no patterns, so my creativity is free to blossom. To start, I decide on the color recipe I want to use, whether it’s warm reds, cool blues or greens, or an “anything goes” riot of color. The only other decision I make before starting to sew is what size I want the finished block to be.

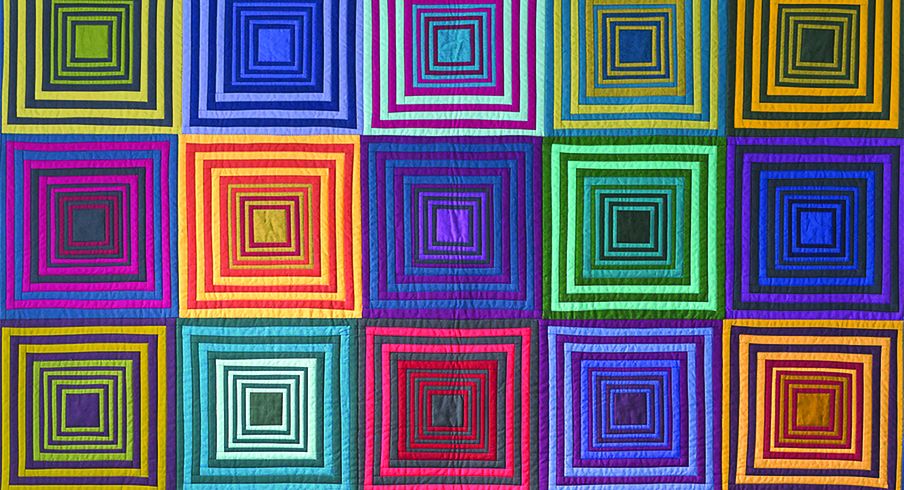
I use improv blocks in a variety of ways. Sometimes I create a quilt using one large block and set it off center with asymmetrical borders. Or I might make smaller blocks and sew them together into rows with an asymmetrical background. Another idea is to make smaller blocks and set them with curved strips, either vertical or horizontal or both, as the background. Whatever the setting, I find useful block sizes finish at 3″, 6″, 9″, or 12″ square, but you can make your blocks rectangular if you wish.
Materials
- Fabric scraps and strips in your desired color recipe
- Accent scraps for the “spark”
- Rotary cutting supplies
- 6″ square ruler, plus a larger one if your block is larger

Directions
1. Decide on your color recipe and gather your scraps. At this stage, I like to pull a variety of values in each color family to add interest. For example, red includes true red, red-orange, and red-violet.

2. Think about your accent fabric. It can be a lighter or darker value of one of your main colors, or it can be another color all together. I often use a complementary color—one that is on the opposite side of the color wheel—for my accent to add a “spark” to the design.
3. To begin, cut a square block for your center. I like to start with a roughly 2″ or 3″ square, depending on the size of my finished block. The smaller center square is best for a 6″ block and the larger center is better for a larger 9″ or 12″ finished size.

4. Cut a slight angle on one side of the center block. This initial angle helps to establish the improv nature of the block and makes your finished design more interesting. Of course, if you like your lines to be straight, that’s fine too.

5. From your scraps, choose another strip and add it to one side of your center. Don’t overthink it; just choose a fabric that is a different color or value than the center piece.
6. Moving counterclockwise around the center, add another scrap to the unit you just created. It is not necessary to square up the block after each addition, just trim the edges as needed to get a consistent seam allowance. I generally aim for a 1/4″ seam allowance, but it’s fine to go slightly less if necessary to add a very narrow strip.
NOTE: As you add strips to your block, consider how the lines and shapes are interacting. Are your lines interesting? Do you have enough contrast in your colors? Have you added a variety of widths in your strips?
7. After you’ve completed the first round of strips, continue adding strips for the second and third rounds using your color recipe and your accent scraps.

8. Consider sewing the smaller scraps in your basket together to create an accent line for your design in the second or third round. This scrappy strip can add interesting lines and shapes to your design that you couldn’t have planned ahead of time, especially if some of them are sewn on an angle. Your accent color can be part of this scrappy strip.

9. When the block is the size you want it to be, square up the edges and it will be ready to use in your quilt.
Improv blocks have many uses. Use your imagination to make your quilt your own!

Cindy Grisdela is an award-winning fiber artist with over 30 years of experience creating eye-catching quilts. She specializes in improvisational quilt designs and dense free-motion quilting. She travels extensively showing her work, giving lectures, and teaching workshops. Cindy is the author of Artful Improv: Explore Color Recipes, Building Blocks & Free Motion Stitching. She lives in Reston, Virginia. Visit her website to learn more.
Has Cindy’s method piqued your interest in log cabin quilts?
Check out Beyond the Block: Modern Patchwork Projects Inspired by Log Cabin Blocks for more inspiration and great patterns.
Join the Conversation!