Keep your Fabric Stash in Check with String Quilting
If your scrap stash is getting bigger and bigger (whose isn’t), then it’s time for you to learn how to make a string quilt! It’s the perfect way for you to use up those bits of precious prints and sassy solids! String quilts are a fantastic way to use up the long, skinny pieces of fabric you might have left over from trimming blocks, backing, or even as excess binding.
String piecing is a technique that involves sewing strips of fabric onto a foundation fabric, creating a visually interesting and textured effect. The foundation fabric can be any fabric you choose, but it’s best to choose a neutral color to showcase the strips of fabric. The strips of fabric can be of varying widths and lengths, and can be arranged in a variety of patterns.
The beauty of string quilting is that it’s a forgiving and flexible technique. You can use any scraps of fabric you have on hand, and the more colors and patterns you use, the more visually interesting your quilt will be.
Getting Started
To get started on making your own string quilt, you’ll need a few supplies:
✓
A variety of scrap fabric in different colors and prints
✓
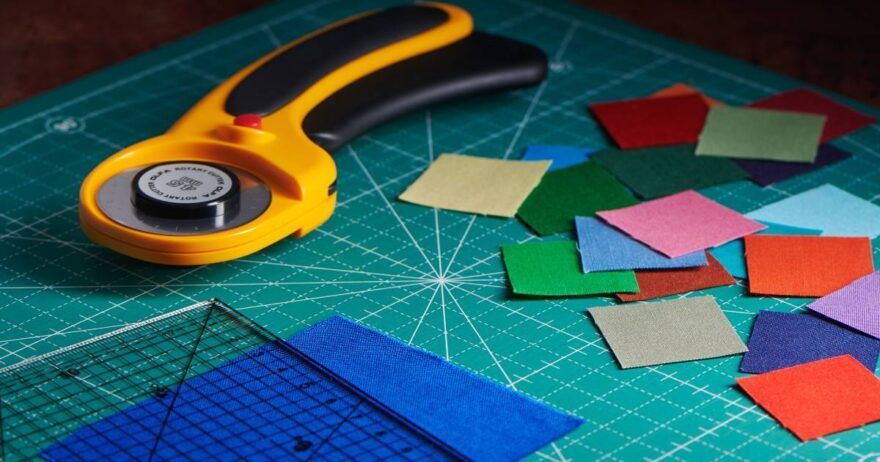
A rotary cutter, a cutting mat, and a ruler
✓
Sewing machine and thread
✓
Batting and backing fabric for your quilt
✓
Once you have your supplies gathered, it’s time to start cutting your fabric strips. The width of your strips will depend on your personal preference, but generally, they should be no wider than 2 inches. You can cut your strips at random lengths or choose to cut them all to a specific length for a more uniform look.
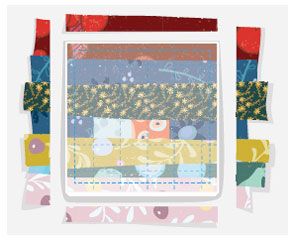
How to Make a String Quilt Block
1
Cut a larger scrap so its a bit longer than the template you are using.
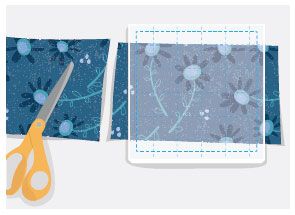
2
Use scissors to divide that piece into more manageable string pieces. A block with a few wide strips will have a chunky look. A block with more narrow strips will have a more directional feel to it. I like working with strings that are cut about 1″–2″ wide.
3
From your pile of scraps, choose 2 fabric strips that are at least as long as the template you are using and sew them together.

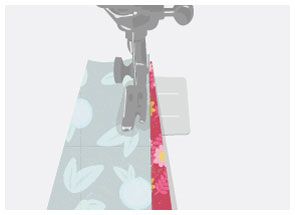
4
When sewing the strips together, sew them so the top strip is at a slight angle to the bottom strip, as shown. Sew with the ¼” seam from the edge of the top fabric with the bottom fabric sticking out. Trim the bottom fabric seam allowance to ¼” to match the top fabric. Starch and press.
5
Choose another strip to add to the pieced unit.

6
It is a good idea to alternate or vary the angle at which the strips are added. This time, the bottom fabric sticks out more at the starting edge of the stitching line. Trim the seam allowance, starch, and press after each addition.

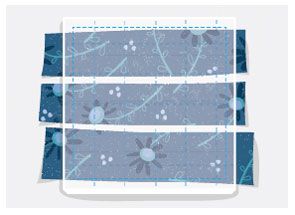
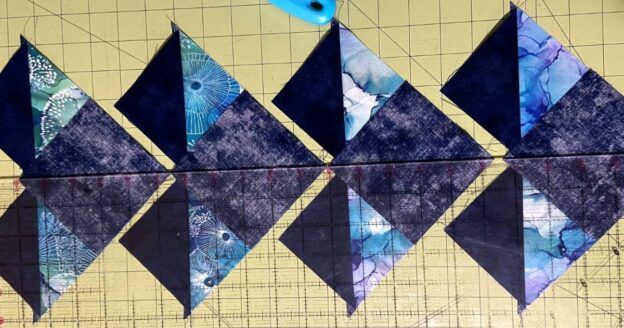
7
Keep adding strips until the unit is larger than the template on all sides. Pay attention to the seam line markings on the ruler when you get to the last piece. Don’t make your last strip too narrow or the seam from the string piecing will be in the way when you are sewing the blocks together.

8
Trim the finished block to the size of your square template.
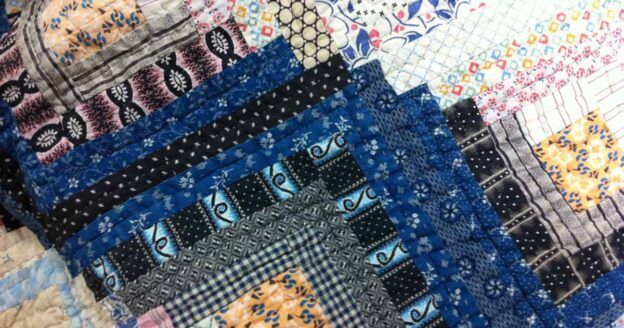
All in all, if you’re looking for a fun and creative way to use up your scrap stash, string quilting is a great option. It’s easy to learn and allows for endless possibilities for color and pattern combinations. And we hope this article helps you learn how to make a string quilt to help keep your fabric stash under control. So go ahead — dive into your scrap pile and start creating a beautiful string quilt today!
Happy string quilting!
Enjoying this article? Sign up for our newsletter!
*This article contains affiliate links that helps us earn a small commission from purchases — at no additional cost to you. We are grateful for your support!


I have done this string piecing technique using batting squares as a foundation. The simply join the trimmed blocks together, lay backing over this and stitch in the ditch to secure with minimal other quilting required. Voila, quilt is done.
Brilliant idea!
In the intro and video, it says that strips are sewn to a foundation. In the instructions, it says that strips are pieced and trimmed to the size of a template. I know both methods are fine, but it might be confusing to inexperienced quilters.