Paper Piecing with Debby Kratovil
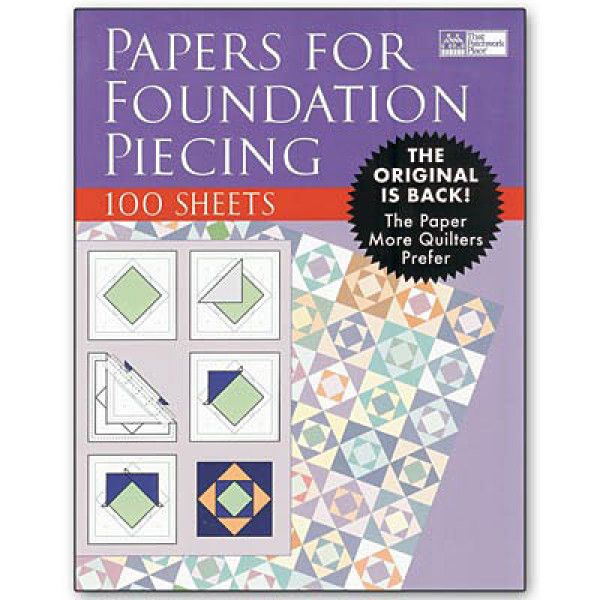
(Editor’s Note: Our guest blogger is Debby Kratovil, author of Paper Piecing Perfect Points, Quilter’s Block-A-Day Calendar and Supersize ‘Em, all for Martingale. Here is some expert paper piecing advice from Debby.)
By Debby Kratovil
I came early to paper piecing only because I worked on the editorial staff of Quilt magazine and was asked to design patterns to share with our readers. I was not impressed because it was SLOW and I didn’t want to spend all that time on little, bitty, tiny blocks with a zillion pieces! I saw the process that popular teachers used and I just didn’t get the appeal – hold your pattern up to the light? Cut large fabric pieces (aka as mega-wads) and hope they cover the patch intended? Leave the paper on when you join units? No thanks!
I jumped in and tried out a few of the blocks I designed. First, I supersized them from 3” and 4” to 8” and 10”! I streamlined the process realizing that you can pre-cut squares, rectangles, and triangles to correspond with the patches so you can sew with confidence that you won’t have to “un-sew” an inadequate unit. None of this “hold it up to the light and pray to the fabric gods for special dispensation.” It was “trim, then sew” and not “sew, then trim.” I saw that using a ruler to trim a patch to 1/4” BEFORE adding the next patch assures a perfect alignment. I actually began to enjoy this!
My inspiration comes from traditional quilts. I love quilts from an era where the maker did not have computers. Only a pencil, paper and a clever brain! Antique quilts give me the most pleasure and I stand in awe of what these (mostly) women have done with minimal tools. Those with really sharp points and curves are the most amazing and those are what inspired me to create the quilts in my book.
Because I tend to sew for the camera, I let the fabrics do most of the work. If you look at most of my hundreds of patterns, they really are yesterday’s blocks with today’s fabrics. I also love to take a difficult block and streamline it so ANY quilter can make it using today’s tools.
I have taught hundreds of students in the classroom and thousands more via my patterns. I learned many things along the way and because my students give me some good feedback, here are some of the best tips.
1. Always cut and sew a sample block before cutting out an entire quilt. You may not like the one block; do you think you would like 16 of them even more?
2. Paper really does matter. Computer bond is too heavy. Consider tracing paper or any of the specialty papers on the market.
3. Shorten your sewing machine stitches slightly. It perforates the paper for ease of removal.
4. You can’t use pins with ball heads; they will get in the way when you fold the patterns back to trim and can cause a bad cut. My favorite pins are short, silk pins without heads.
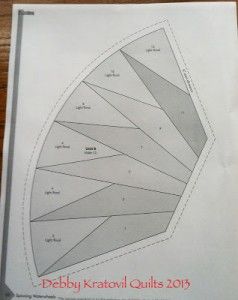
5. The most confusing part of paper piecing is the paper! It sits between you and your fabrics and some people feel like they’re driving blindfolded. I audition my fabric patches, laying them out on the foundation as they will appear when sewn. I sometimes indicate the colors, etc., on the unwritten side (that’s the side the fabrics show up on). The side with the writing is the side you sew on (sewing on the line.)
6. Remove all paper outside the pattern; you can’t paper piece on an 8-1/2″ x 11″ page when your pattern is only 5″ in size. It will cause you to overshoot the placement of your fabrics.
7. Once you cut out the pattern, fold along every line using a postcard. This will allow you to “see” the lines as you place the fabrics.
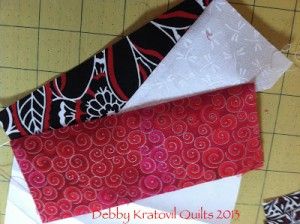
8. After each stitched seam, fold the pattern back along the NEXT line and trim the just-added fabric, leaving a 1/4″ seam. Now you have the perfect edge to align the next fabric patch. No guessing. Holding a pattern up to the light to hope you can place it correctly is primitive at best – a lot of mistakes happen with this technique.
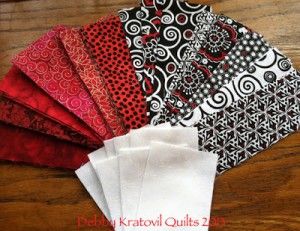
9. My patterns always give directions on pre-cutting squares, rectangles, and triangles to best maximize your time and efficiency. I take the guesswork out of preparation. The precut patches are cut slightly oversized and assure the quilter that he/she will have adequate coverage on each patch when they sew.
10. Consider using my “Patch of Shame” technique when you need to “unsew.” When I need to unsew, my method is to save the seam and sacrifice the “Patch of Shame.” What? That’s the fabric patch that doesn’t quite cover the space it’s supposed to. You have to assert yourself and sacrifice it for the good of the project. Grab the Patch of Shame and with a pair of sharp scissors, trim it away as close as you can to the seam. Now grab the remaining seam allowance and it will peel away. Everything’s removed except the seam stitches.
11. Begin and end your seams outside the seam allowance; when possible, begin sewing off the paper. You need stitching in the seam allowances as you do in traditional sewing.
12. Most of the projects in my book involve sewing the curved pieced foundation to a curved background. You MUST remove the paper from the foundation before joining in order to have ample “ease” (remember setting in sleeves in garment sewing?) And while you’re at it, go ahead and remove all the papers from your finished foundations before you join them to other blocks. Your seams are short and nothing is going to come loose.
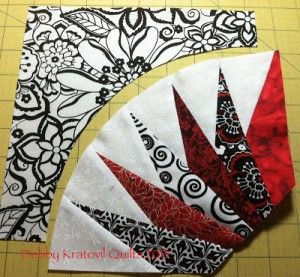
Can you see those awesome sharp, pointy-points?
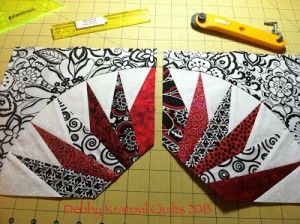
See those straight sides? My double pins held them in place.
About Debby
I came early to the internet with one of the oldest quilting websites ever. I even brought Quilt magazine online as the first quilting magazine with an internet presence. But I only recently (April 2012) began blogging – kicking and screaming! But it is an awesome place for me to share my hundreds (yes, hundreds) of quilts, tips, techniques, and lessons. I am promoting my book (Paper Piecing Perfect Points) by recreating many of the blocks with new fabrics. It’s true: you can change the personality of a block or quilt with completely different fabric. Check out my blog to see what I’m up to.
Until next time, be sure to visit The Quilting Company on Facebook, Instagram, Twitter, Pinterest, and YouTube.






Join the Conversation!