QM Bitty Blocks: Flying Geese | Quilty Pleasures Blog

You may have noticed long ago that in the row quilt layouts for QM Bitty Blocks, there were lots of Flying Geese. There are many ways to make Flying Geese, but when they’re tiny like this (finishing at just 1″ x 2″), I have a definite preference.

In case you missed them earlier, here are some of the layouts for the row quilts.

The layout above would make a nice crib-size quilt. Below is a much larger version.

You can see all of the size options in QM Bitty Blocks: The Row Quilts, but they all include rows of Flying Geese. So let’s talk about how to make yourself a gaggle.
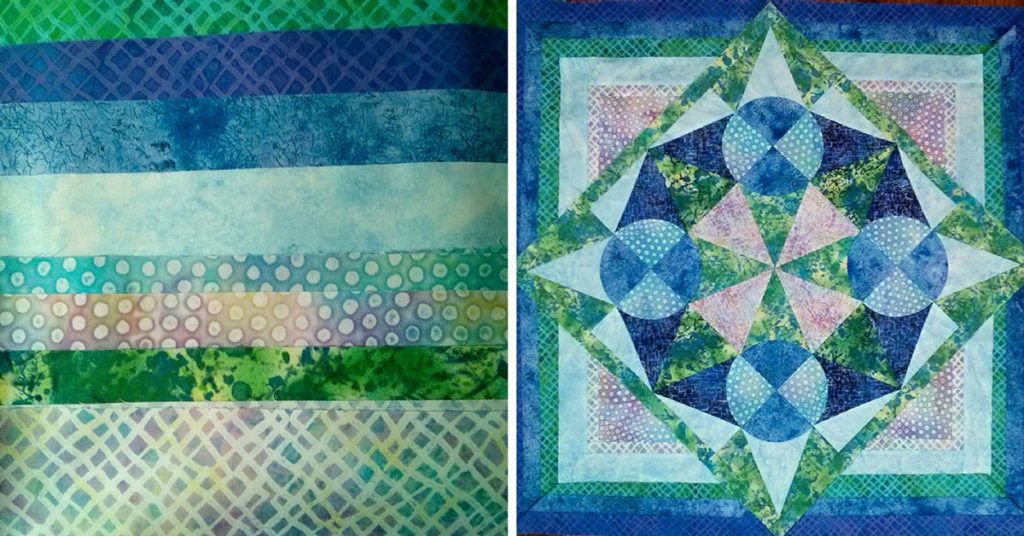
Ordinarily I love the Quilt in a Day/Eleanor Burns method for making Flying Geese. But for Flying Geese that are this small, finishing at just 1″ x 2″, I think stitch-and-flip is the way to go. I’ve made hundreds of these and have experimented aplenty, mostly for my Liberty quilt, below.

The sashing is made from Flying Geese that finish at just 1″ x 2″, the same size we used in the QM Bitty Blocks row quilts.
Here is how I recommend making Flying Geese for your Bitty Blocks row quilt.
Cutting
For the goose:

Patches needed for one Flying Geese unit
1 rectangle,
1-1/2″ x 2-1/2″
For the background:
2 squares,
1-1/2″ x 1-1/2″
Align one square on top of the rectangle, right sides together. I find that on these small patches, I can eyeball it without marking. I used dark thread so you could see it, but you’d want to use neutral thread. Sew on the diagonal as shown below.

Sew on the diagonal.
Leaving a 1/4″ seam allowance, trim away the light background square only, leaving the rectangle intact.

Trim away only the light-colored square, leaving 1/4″ for seam allowance.
Open out the patch and press.

Open out the patch and press.
Now you’ll do the same thing on the other side. Put the remaining square on top of the rectangle, right sides together. Sew on the diagonal. Trim away the light fabric to leave 1/4″ seam allowance as shown below.

Do the other side: Sew on the diagonal and trim away the patch to leave 1/4″ seam allowance.
Open out the patch and press. There you go! That’s how to make a Flying Geese unit with stitch-and-flip. At this point it should measure 1-1/2″ x 2-1/2″.

Make a bunch!
Make as many as needed for the row quilt you are creating. Sew them together into a row for your quilt.

Sew the Flying Geese together into a row for your Bitty Blocks quilt.
I have to tell you a story about Paula Stoddard, our managing editor. Paula did a very thorough cleaning of her sewing room recently, and in the process, is pretty sure she accidentally threw a couple hundred of these little guys away. Such a sad day.
COMING SOON: The big reveal of our QM Bitty Blocks Row Quilt. It is adorable!


Join the Conversation!