Quilt Gifts: Easy Gift Card Wallets
Making handmade gifts, especially quilt gifts, are my favorite. Whether it’s for the holidays, birthdays, or special occasions, I enjoy giving something I’ve made with love.
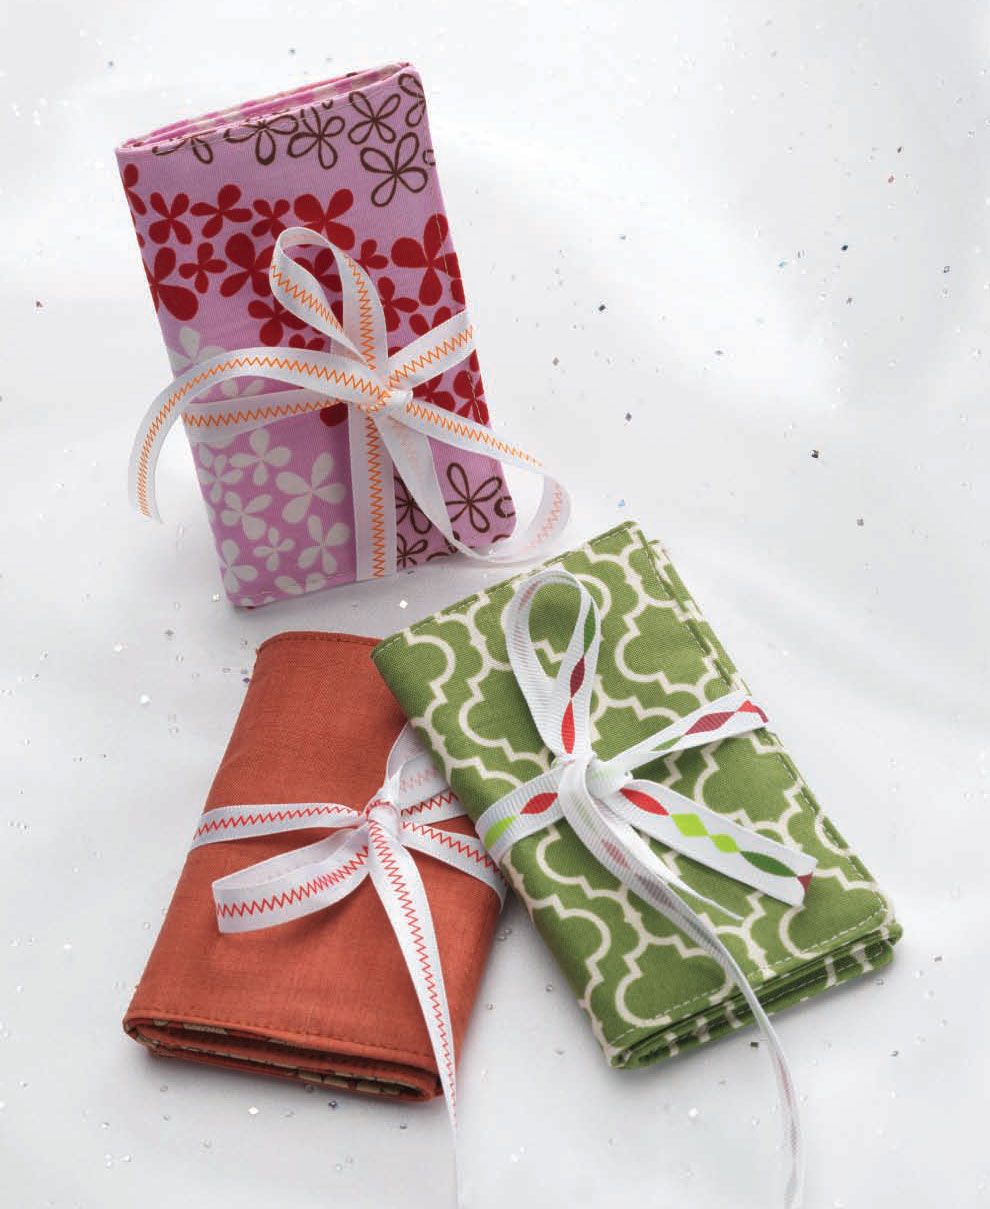
If you’re looking for an easy or last-minute quilted gift, give these Gift Card Wallets by Julie Herman a try. Not only are they a great way to personalize giving a gift card, but they also are a convenient way to keep them organized and ready to use. Unfortunately, my aspirations and time management don’t always allow for extravagant handmade gifts for everyone on my list. When that’s the case (or when I’ve started my projects too late) I turn to gift cards because they are easy to give and are usually met with a smile. Plus, when I wrap them in a fabric holder, I can add that special touch.
Here’s what you need to make one wallet:
- Fabric for the wallet exterior and lining, two pieces @ 5″ × 11″
- Fabric for the wallet pocket, one piece @ 6″ × 11″
- 3⁄8″-wide ribbon, two pieces @ 12″ long
Directions:
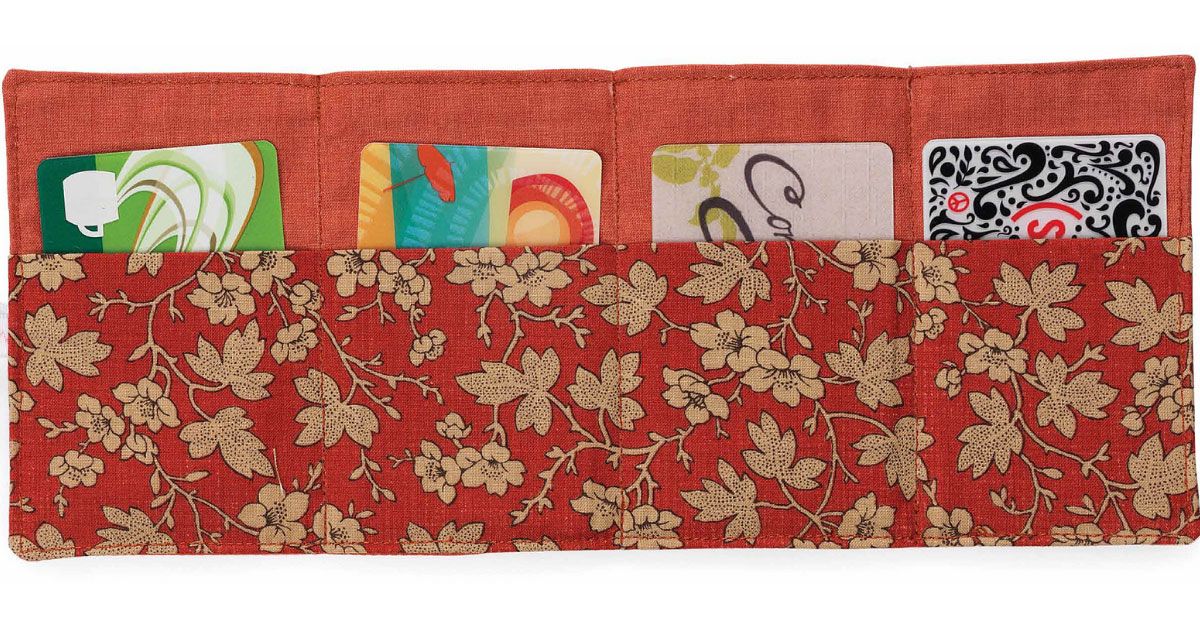
1. Fold the pocket fabric in half lengthwise, wrong sides together, so that it measures 3″ × 11″. Place the pocket on top of the inside wallet fabric (right side up), matching the raw edges on the sides and bottom.

2. Baste the ribbon to the unit with a few small stitches as shown above. If the ribbon has a right side and a wrong side, place the right sides together when doing this step.
3. Place the outside wallet piece on top of the unit, with the right sides together, aligning all raw edges.
4. Sew around the project with a ¼” seam allowance. Leave a 3″ opening in the bottom for turning. Take care to avoid sewing the loose ribbon into any of the other seams.
5. Turn the wallet right-side out. Poke out the corners and finger press the edges of the wallet. (Press with an iron if desired.)
6. Tuck in the seam allowance for the opening. Topstitch around all four sides of the wallet.

7. Use a pencil to mark the divider lines as shown above. (From the ribbon edge the pockets should measure as follows: 2-3/4″ | 2-5/8″ | 2-5/8″ | 2-1/2″ ) Stitch along each line to create the pockets.
8. Fold the wallet on the stitching lines, starting at the far end and folding inward toward the ribbon. Wrap the ribbon around the wallet to secure it.
I don’t know about you, but I’m always ready for a small quilted gift that will make a dent in my scrap fabric pile! Make them in a range of fabrics so you can keep them “in stock” and ready to go the next time you need to give a gift card.
Get this pattern and six more for free when you download our 7 Free Small Quilting Projects eBook. And, if you haven’t had a chance to explore our Free Quilt Patterns & Tutorials page, take a look. You’re sure to find a few projects or techniques to try in the New Year.
Sending season’s greetings to you and yours!


Love the gift card holder ideal!!!!!
Love the gift card holder ideal!!!