Quilting the Wind | Inside Quilters Newsletter
I love to learn. I love to experiment with new things and try new techniques, especially in my quilt making.
I’ve worked at free-motion quilting on my personal machine for a number of years. I consider myself proficient at stippling and meandering. I’m also able to quilt swirls and cursive writing nicely. Pebbles – not so much – I tend to get compulsive and instead of pebbles – I make grains of sand – and the quilt becomes very stiff.

Feathers Quilted with a Paper Pattern
For the more complicated things like flowers and feathers, I tend to use patterns or stencils. But I want to grow past that. A large part of wanting to be able to eliminate using patterns is the time involved. I have to copy the pattern onto copy paper, pin the pattern to the quilt, quilt through the pattern and then tear away all the paper. If I use a stencil, I have to mark each and every line in the stencil. Not having a pattern or a stencil would make the quilting process quicker. Then I could make more quilts. (Smile.) So I’ve set a goal to learn more patterns that I can quilt without a paper pattern or stencil.
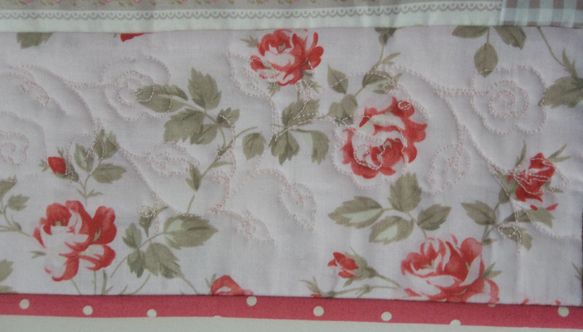
Last week, I decided it was time to learn to create the look of wind. I see it and admire it often on quilts made by other quiltmakers. So I googled “machine quilting wind pattern.” I read through a couple of blogs and looked at the photos. Then it was off to the studio. I marked a top edge of the space I wanted to quilt and used the seam on my half square triangle as the bottom edge. The width of the space between those two edges will depend on the size of your space to be quilted but for my little quilt, I made my top line 1 1/8” from the edge of my HST. But then because my area to be quilted was triangular, I wound up ignoring those marks.

Marked and Quilted
I felt like I needed something in the widest part of the triangle. The stitching is a simple matter of stacking 3-5 swirls and then moving on to the next area. I had 8 small areas to be quilted and by the time I got to the 3rd, I felt like I was doing an acceptable job. That doesn’t mean I’ll take out the first 2 because they are not awful and they add to the story of the quilt.

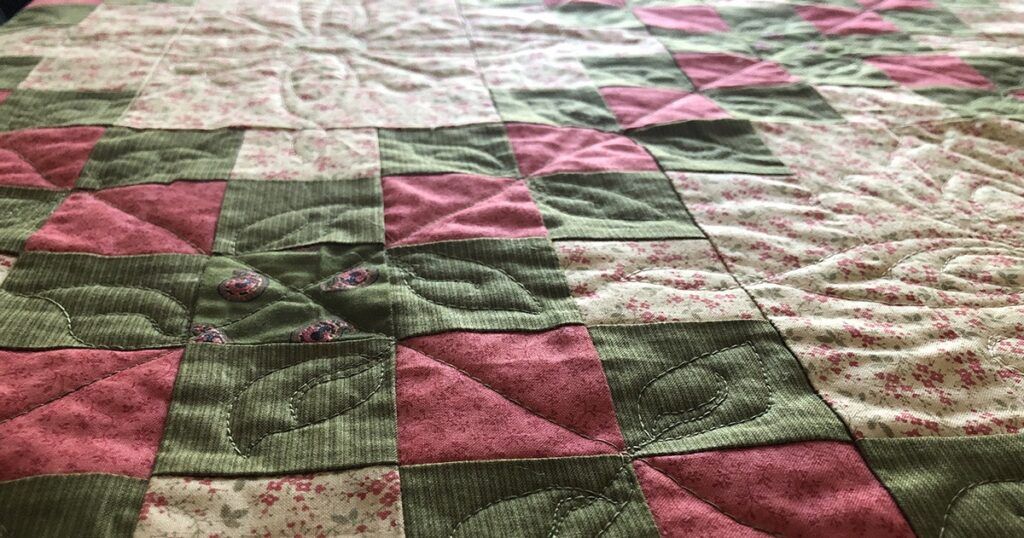
The Same Space without the Marked Lines
The biggest ah-ha moment for me was when I realized that by stitching an odd number of swirls, I ended up on the opposite end of where I started and I could easily go forward to a whole new space. Elementary, I know but it just hadn’t clicked for me before.

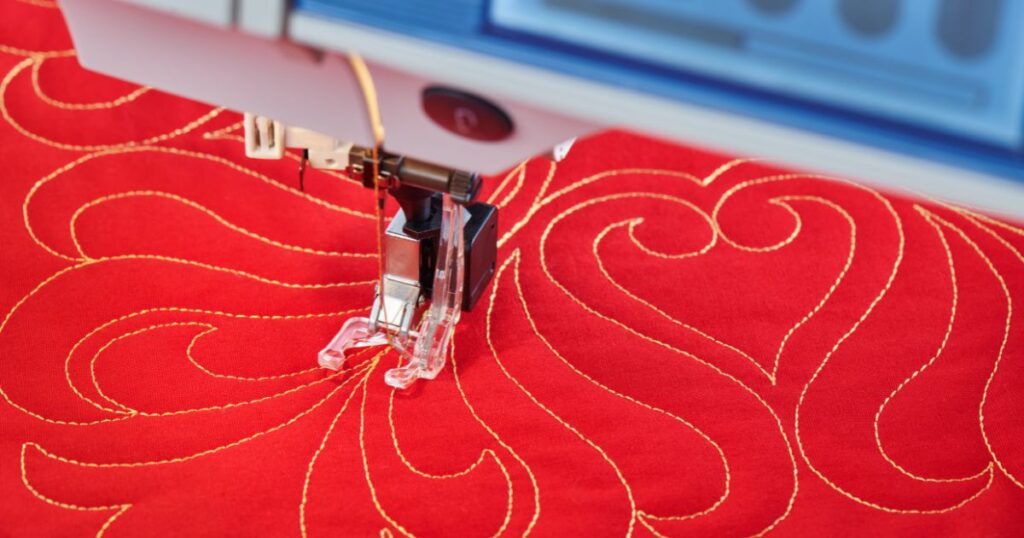
Another Space with Wind Quilting
If you are like me and want to expand your quilting abilities, I urge you to go for it. Try a new pattern on something small and not terribly special so it won’t break your heart if it isn’t wonderful. Play around with a pencil and paper for a few minutes before you start quilting with your machine. There is something about drawing the pattern on a piece of paper and familiarizing yourself with the ins and outs and ups and downs of the pattern that makes it easier to stitch with the machine. And for the first couple of projects with a new pattern, use thread that matches the fabric you are quilting on. The quilting blends in a little more and mistakes aren’t as visible.
I can’t show you the whole project. It’s a sample for something Mary Kate and I will be doing at Quilting LIVE in Georgia September 11-13th. For more information about Quilting LIVE, click here. We’d love to see you there.
And now it’s on to other projects for me. For you, don’t forget to follow us on Facebook, Pinterest, Instagram, Twitter, Google+, YouTube and our website for the latest news in our world and for great ideas and tips for your next quilting project.
Happy quilting until next week!


Join the Conversation!