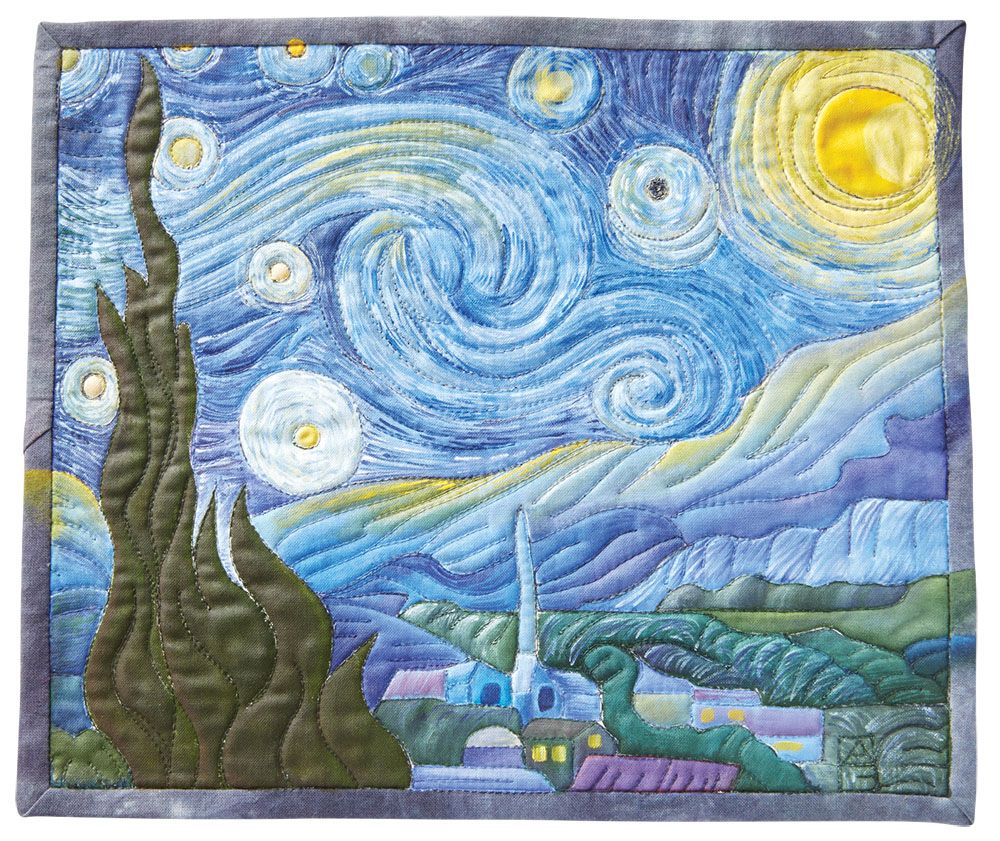
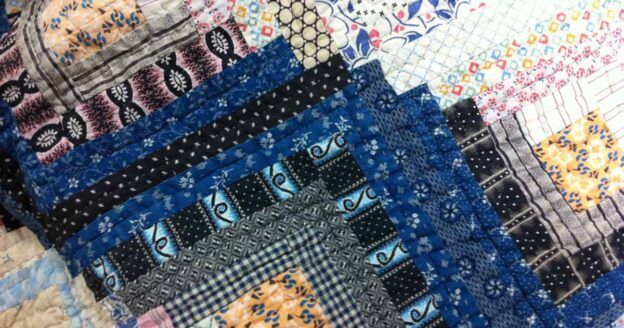
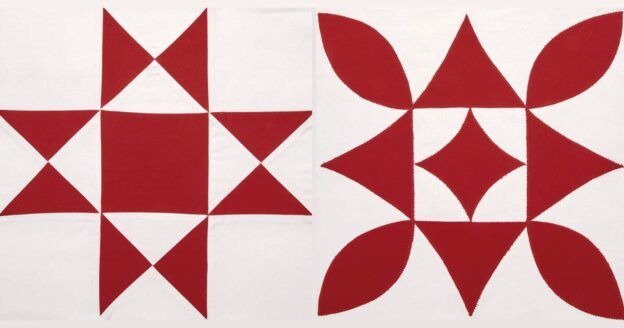
Quilting with the Masters: How to Make a Starry Night Quilt
Adding color to cloth is addictive — but sometimes using textile dye can be too time consuming and messy. Ana Buzzalino uses thread painting coupled with a coloring book mentality (using either textile paint or colored pencils) to create mini quilts that emulate the masters. Today, we’ll learn how to make a Starry Night quilt as well as a stitched version of The Café Terrace on the Place du Forum
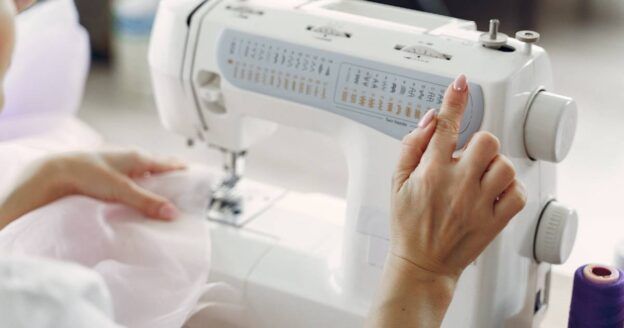
I love free-motion machine quilting. I can’t wait for the quilt top to be finished to start quilting it. I know that is not necessarily the norm, but to me, the quilting is the fun part. I’m always looking for ways to improve my free-motion machine quilting skills and, by doing so, hopefully, give others ideas on how to improve theirs and maybe try something new—to the point that they love machine quilting as much as I do. This technique should do the trick!
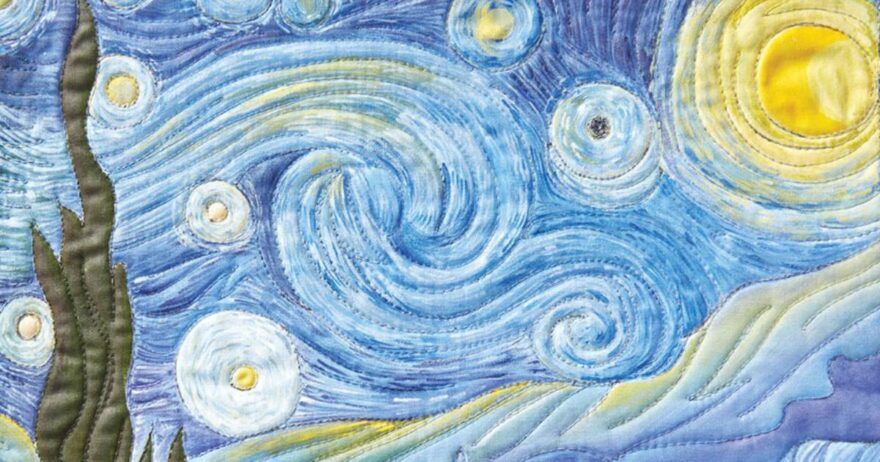
A while ago I purchased a vintage copy of LIFE Magazine at a flea market that featured the work of artist Pablo Picasso. The images included some of Picasso’s line drawings, and they got me thinking that those drawings could be used to practice machine quilting. That thought inspired me to explore the works of other artists, such as Henri Matisse, Vincent Van Gogh, and Toulouse Lautrec. All of these artists created masterpieces, but some of the components of their artwork could translate to the quilted line, especially if they were drawn as coloring book pages. So what if I tried to learn how to make a Starry Night quilt?
Materials
✓
Coloring page printed to 11″ x 17″
✓
Lightbox or window
✓
Backing fabric
Directions
Step 1: Transfer the design to the fabric
✓
Cut the base fabric 2″–3″ larger than the size of the finished piece.
✓
Print the coloring page/design to size. Using a light box or a window, tape the base fabric on top of the printed coloring page/design to keep it from shifting.
✓
Trace all of the lines onto the fabric with a fine point mechanical pencil and a light touch. The lines should be just dark enough to see them when you are quilting. At this point, you can join lines to make the free-motion quilting easier.
✓
At this point, you can join lines to make the free-motion quilting easier.
Step 2: Stitch your ‘quilted masterpiece’
✓
Using basting spray or pins, layer the backing, batting, and marked base fabric into a quilt sandwich. Attach a free-motion quilting foot to your sewing machine and lower the feed dogs.
✓
Look at your design and decide where to start quilting. I try to start and stop as little as possible. For that, I join lines where I can. Exceptions would be with designs that are “floating,” such as circles, stars, etc., unless they are adjacent to other designs and can be joined together.
✓
Stitch over the drawn lines. If you don’t quilt on the line the first time around, try again. Your piece will be more interesting for it. Remember that you are building on a skill that requires practice . . . lots of practice.

Tip: Create depth and interest by stitching over some of the lines more than once. Look at the coloring pages for inspiration: some of the lines are darker and thicker than others.
Step 3: Add Color and Stitch
Coloring is in vogue right now. Wouldn’t it be fun to color on a quilt instead of on paper? There are several products you can use to color — with fabric paint, ink pencils, and embroidery stitches — to add interest to your “quilted masterpiece.”

Keep reading and we’ll explain the pros and cons of each method as well as how to use them!
Painting on Fabric
1
Painting on Fabric
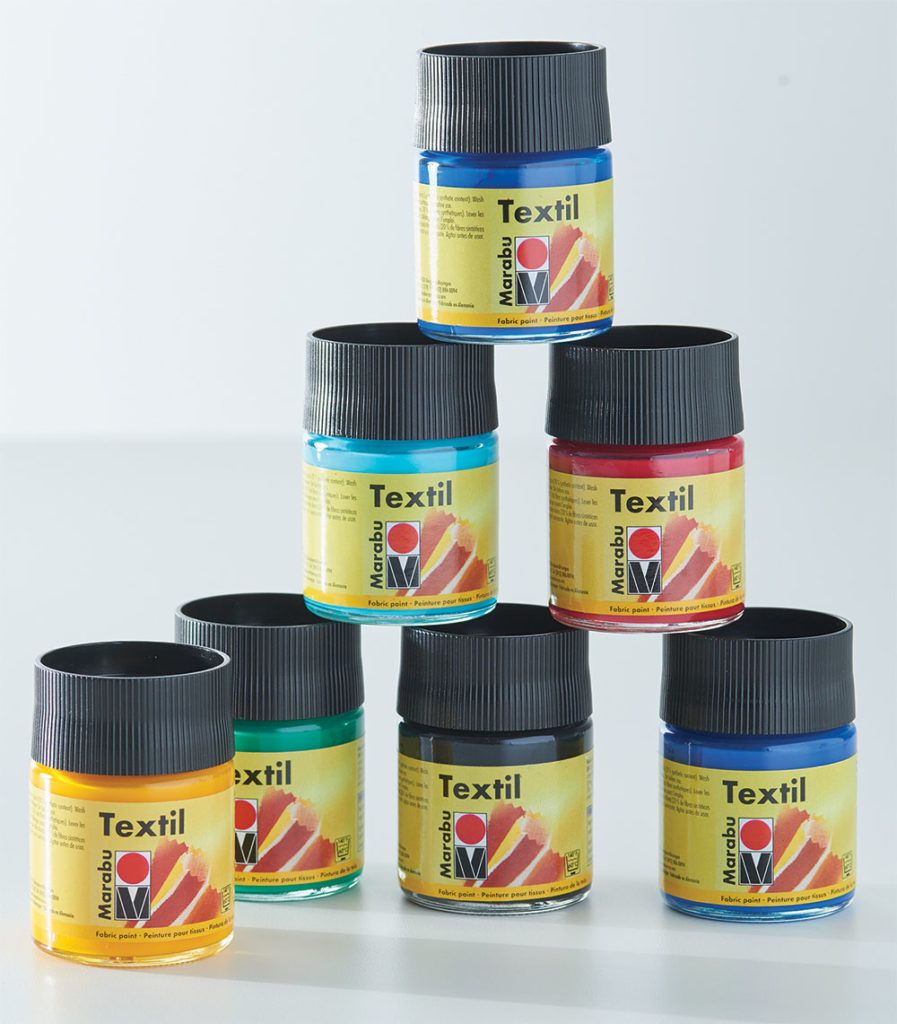
Fabric paints come in three types opaque, transparent, and metallic. I used transparent paints in this case because the “quilted masterpiece” is made with a light-colored fabric. Metallic paints are another option to add interest to the quilt.
✓
When painting directly on your “quilted masterpiece,” think about it like painting on a coloring book page. The thread lines are the boundaries, so paint inside the stitch lines without touching the thread.
✓
Start with lighter colors first and then add the darker colors, blending as you go.
✓
You can paint an entire area or just some of it and leave parts of the design unpainted.
✓
Once you are happy with the results, let the paint dry for 72 hours or longer and heat set following the manufacturer’s instructions.
2
Inktense Pencils
Inktense pencils are as versatile as watercolor pencils, but have a firmer texture. The color is lighter when applied to the fabric, then activated with water or fabric medium.

Once the color is dry, it is permanent, so you can add other colors on top to create rich tones. Inktense can be used instead of fabric paints to add color, depth, and dimension.

There are two main ways to paint with Inktense pencils on fabric: wet or dry. The quilt The Café Terrace on the Place du Forum was colored with Inktense on dry fabric.
Wet Method
✓
With a small brush, paint the area to be colored with textile medium.
✓
Work by areas. The fabric needs to be quite damp, but not sodden.
✓
Carefully start adding color with the Inktense pencils directly onto the wet textile medium. This allows the color to flow freely from the pencil onto the fabric. Once the color is applied to one area, go back over it with a brush and textile medium to blend the colors in.
✓
Within a colored area, brush the lightest area first and work your way to the darkest area of color to avoid over blending. Once again, you can paint the entire piece or leave some areas unpainted.
Dry Method
✓
Apply the color as desired on the dry fabric, moving from light to dark and blending as you go.
✓
With a small brush, pick up a small amount of textile medium and begin applying it to the colored area, blending as you go. Start at the center of the area you colored and work your way toward the edges, carefully, so by the time you get to the edges there will be almost no medium and the color won’t bleed. Repeat as necessary.
General Tips & Tricks
✓
Use small amounts of textile medium. You can always add more.
✓
If you don’t like the first application of color, let it dry. Once dry, the color is permanent, so you can add layers of color on top without moving the color underneath.
✓
Textile medium will make the image stiff, which is ideal for a wall hanging. If you prefer a softer feel, the stiffness will be gone with washing.
✓
The harder you press, the bolder the colors will be. Wash over dry color with a little water to get an ink-like effect.
✓
Some fabric mediums require heat setting to make the color permanent. Always follow the manufacturer’s instructions to avoid disappointment. If there is any doubt, make a sample and test it to see if the color washes off.
Reminder: Always Remember to Follow the Law
When learning how to make a Starry Night quilt, I was sure not to violate copyright law. Copyright laws are complicated, so before using any images, I needed to make sure they were either copyright free or in the public domain. I learned that most work by 20th-century artists (including Picasso) is still copyright protected, so I needed another source.
Eventually I found works that are in the public domain and licensed under a Creative Commons Attribution—Share Alike 4.0 License which states that you are free to share (in other words, copy and redistribute the material in any medium or format) and adapt (remix, transform, and build upon the material) for any purpose, even commercial.
The work in this article has been stitched using images obtained under the Creative Commons License or in the public domain, and I obtained written consent to use them. I have given credit to the author of the coloring page with each sample (see Resources) as well as links so you can download the images and use them in your own interpretations.
Additional Resources
Check out these websites for images you can use in your work.
About the Artist
Ana Buzzalino is a fiber artist and quilt instructor living in Calgary, Alberta, Canada. Ana has been teaching a variety of quilting techniques for over 25 years. Her recent work focuses on surface design, such as fabric dyeing, rubbings, stampings, and monoprinting. She is a frequent contributor to Quilting Arts, has appeared on “Quilting Arts TV,” and a Quilting Arts Workshop™ video, “Machine Stitching and Painting Quilts.”
We hope you’ve enjoyed this tutorial on how to make a Starry Night quilt! For more amazing artwork and tutorials from art quilting masters check out this book.
Sew long,
Katie
Enjoying this article? Sign up for our newsletter!
*This article contains affiliate links that helps us earn a small commission from purchases — at no additional cost to you. We are grateful for your support!


I have started using the Derwent Watercolour Pencils in my embroideries. I use Kona white fabric and use the pencils to fill in areas and just add water. I have to be careful to not on add too much water but the threads in Kona fabric usually keep the paint from the pencils from spreading. If you use a muslin or smoother fabric the paint will spread more with the water. I have never used the Derwent Intense Color pencils but I might try them using your dry method. Thanks for the information and instructions in this article.