Sew Easy: Cutting 30-Degree Triangles

30-degree triangles are a common shape, used frequently for diamond rectangle units and setting triangles. Below you’ll find both video and image+text tutorials for this technique with clear, step-by-step instructions. PLUS—if you’ve found this lesson useful, you can download a copy of this AND many more Sew Easy lessons in our FREE eBooklet Sew Easy Lessons: The Essential Collection of Quilting Techniques. Click here to download your copy of this lesson plus many other tried-and-true patchwork tutorials!
Video Tutorial
Step-by-Step Sew Easy Instructions
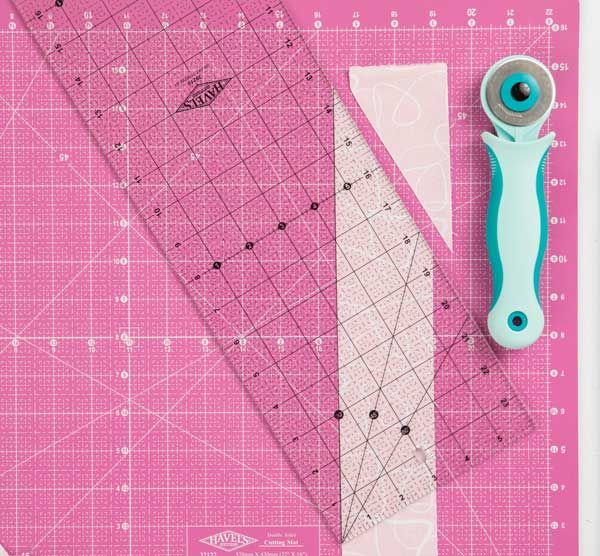
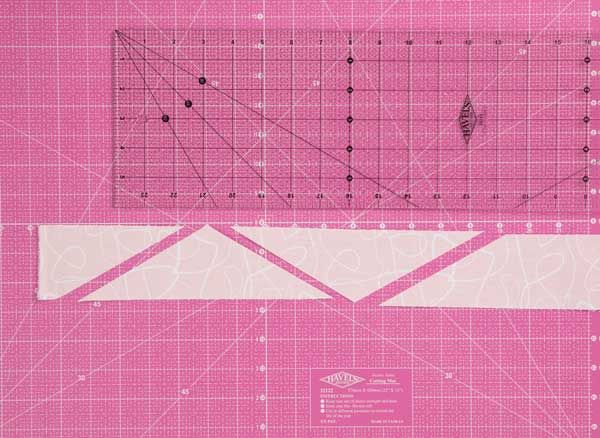
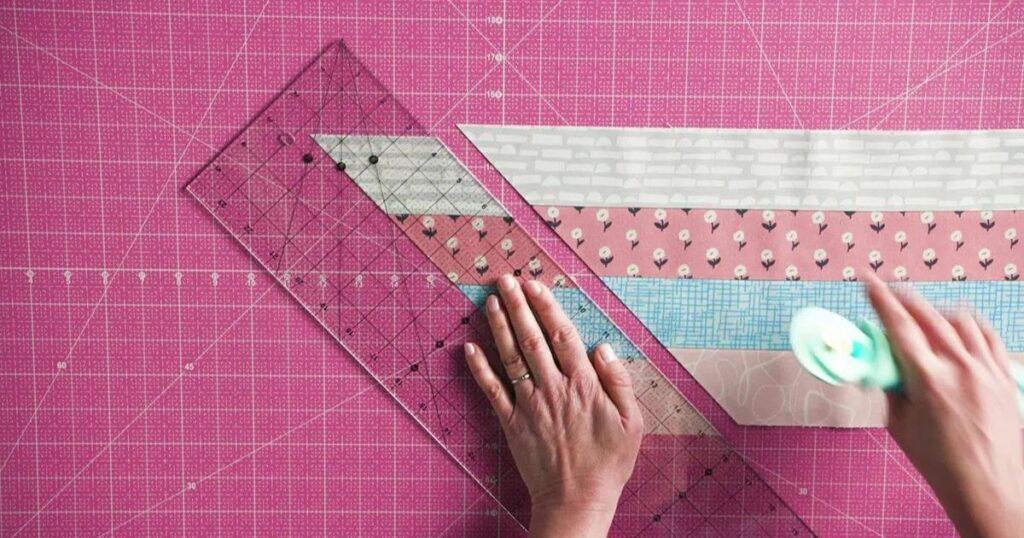
- Begin with strip cut to desired height of triangle, plus ⅞” for seam allowance. Place ruler on strip, aligning 30-degree mark on ruler with one long edge of strip, and trim.

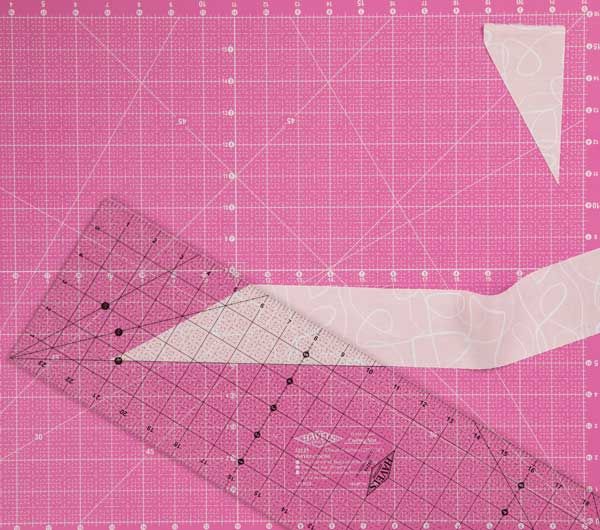
- Re-position strip and align 30-degree mark on ruler with bottom edge of strip to create triangle.

- Cut to make triangle.

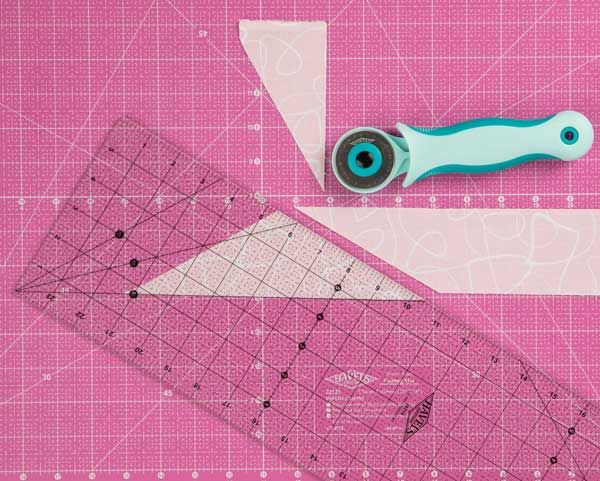
- Align 30-degree mark on ruler along top edge of strip.

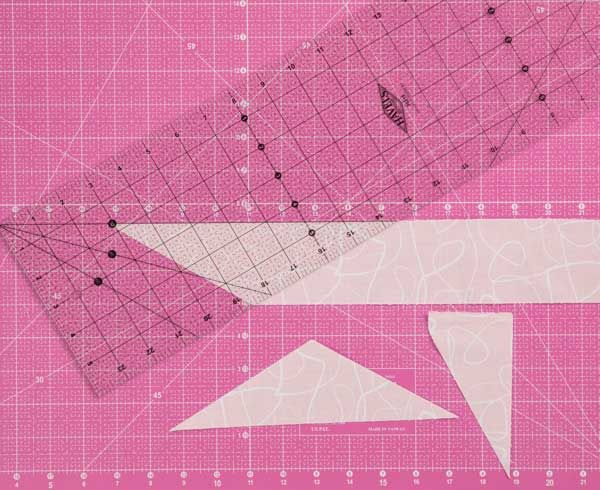
- Cut to make another triangle. Continue aligning 30-degree mark as described to cut remaining strip into triangles.

Products used: Havel’s Self-Healing Cutting Mat, Havel’s 45mm Rotary Cutter, and Havel’s 6″ x 24″ Fabric Ruler. Check out Havel’s Sewing for more information and a complete catalog.
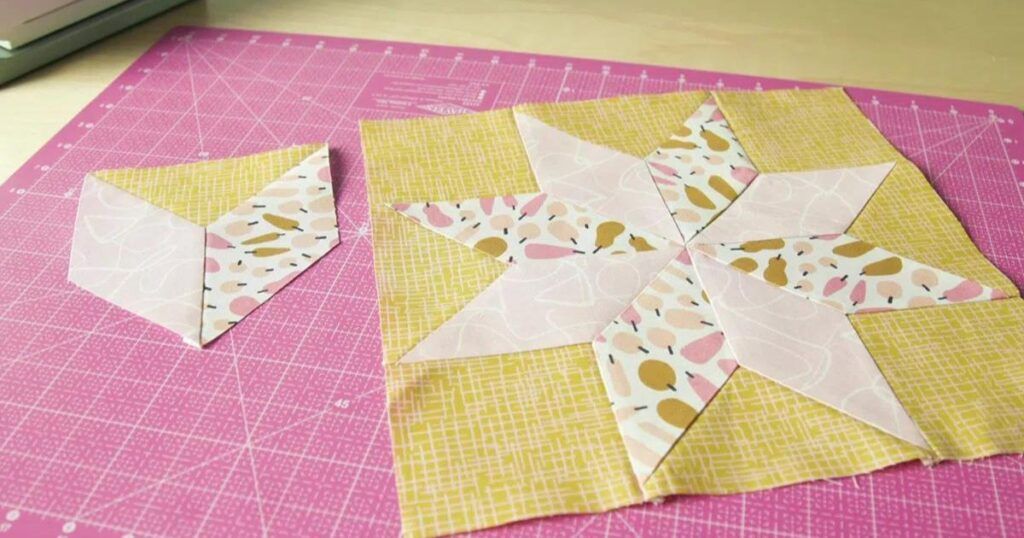
Fabric from Abstract Collage collection by Ampersand for Paintbrush Studio Fabrics.
If you’d like to download the individual PDF of Sew Easy: Cutting 30-Degree Triangles, click here!
Want to learn more? Visit our Sew Easy index to find many more great Sew Easy videos from the Quilting Company team.
For more quilting know-how, check out these products!


Join the Conversation!