Sew Easy: Trimming Oversized Hourglass Units

Try this method to make perfect hourglass units every time. Below you’ll find both video and image+text tutorials for this technique with clear, step-by-step instructions. PLUS—if you’ve found this lesson useful, you can download a copy of this AND many more Sew Easy lessons in our FREE eBooklet Sew Easy Lessons: The Essential Collection of Quilting Techniques. Click here to download your copy of this lesson plus many other tried-and-true patchwork tutorials!
Video Tutorial
Step-by-Step Sew Easy Instructions
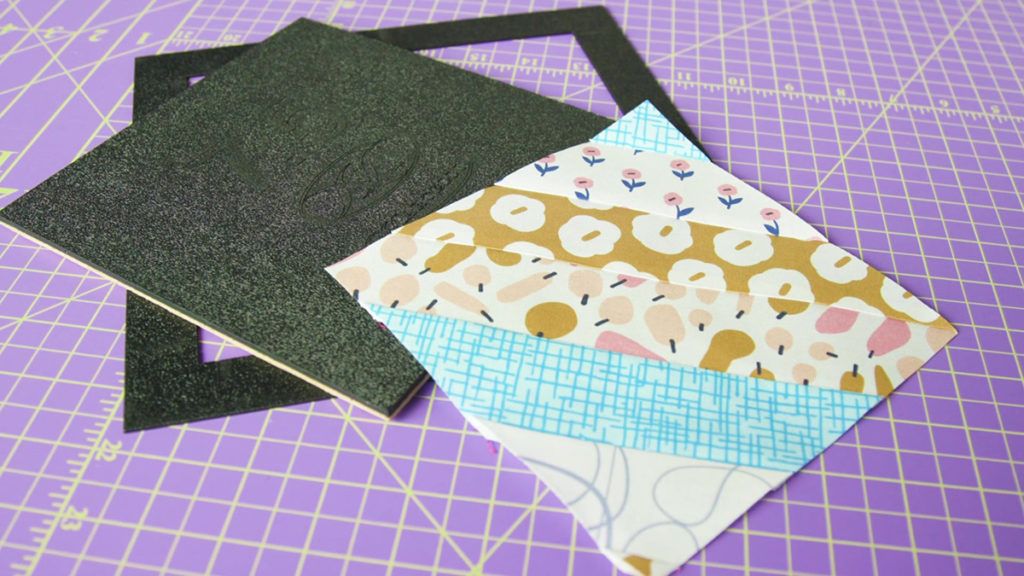
- Make hourglass units using squares that are 1-1/2″– 1-3/8″ larger than desired finished size of hourglass unit.

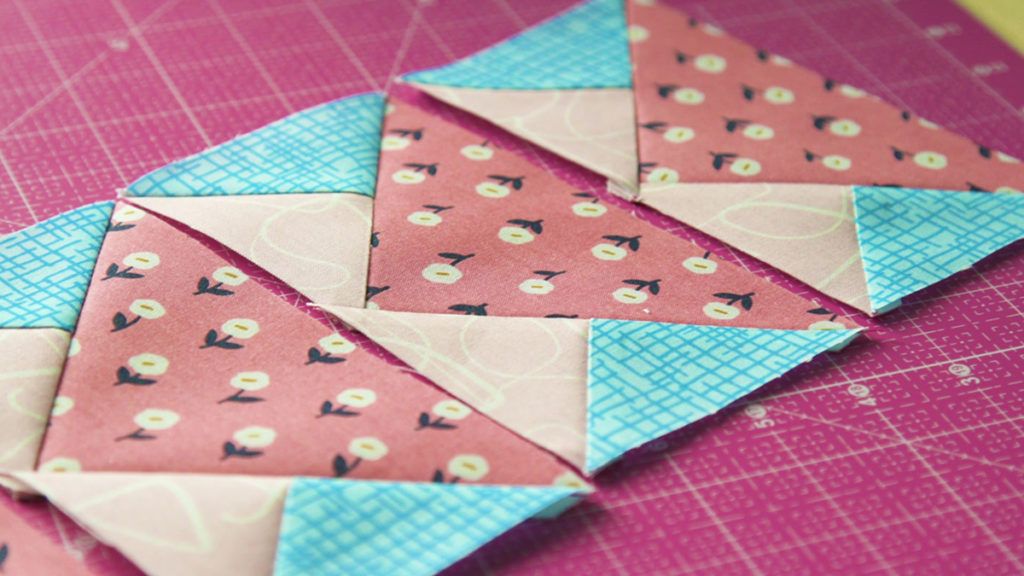
- Using center point as a guide, draw lines on each edge of hourglass unit that represent size of finished hourglass unit plus ½”.

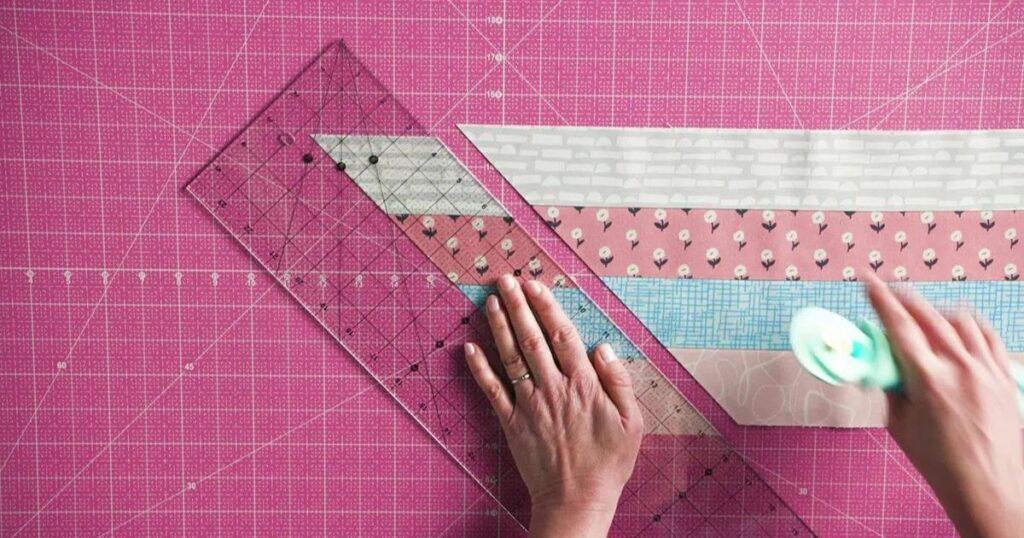
- Position ruler on hourglass unit aligning ruler’s 45-degree line on one diagonal seam, while aligning ruler’s top right corner with lines drawn on the top and right edges.

- Trim hourglass unit along top and right edge of ruler.

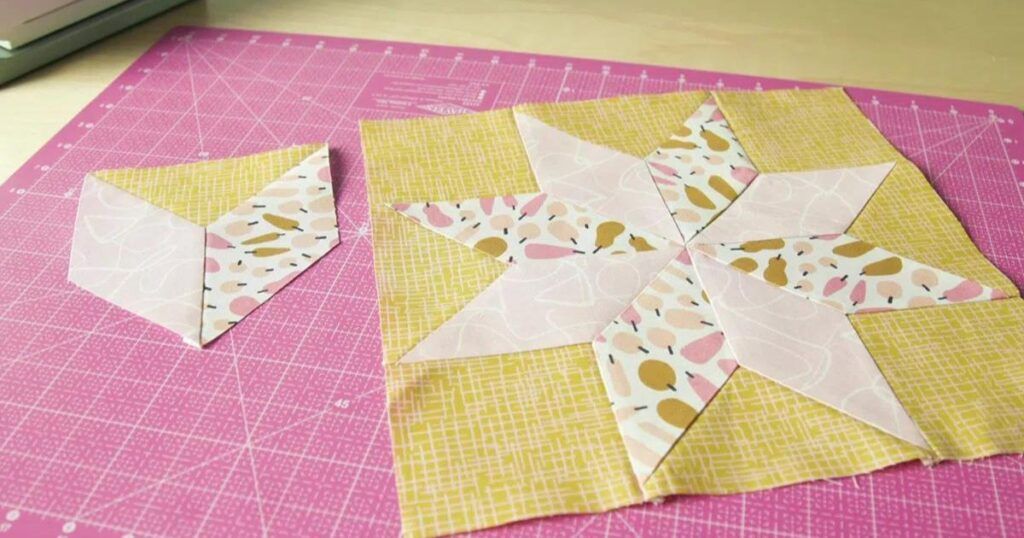
- Rotate hourglass unit so trimmed edges become bottom and left sides. Re-align ruler with diagonal seam and drawn lines, and trim to square up hourglass unit.

- The final unit will be perfectly accurate.


Products used: Havel’s Self-Healing Cutting Mat, Havel’s 45mm Rotary Cutter, and Havel’s 6-1/2″ Fabric Ruler. Check out Havel’s Sewing for more information and a complete catalog.
Other products include Aurifil 40wt. cotton thread (fuchsia), pencil, wool pressing pad, travel iron, starch.
Machine featured is the performance icon™ by PFAFF®. To find a retailer near you, visit PFAFF.com.
Fabric from Abstract Collage collection by Ampersand for Paintbrush Studio Fabrics.
If you’d like to download the individual PDF of Sew Easy: Trimming Oversized Hourglass Units, click here!
Want to learn more? Visit our Sew Easy index to find many more great Sew Easy videos from the Quilting Company team.
For more quilting know-how, check out these products!


Join the Conversation!