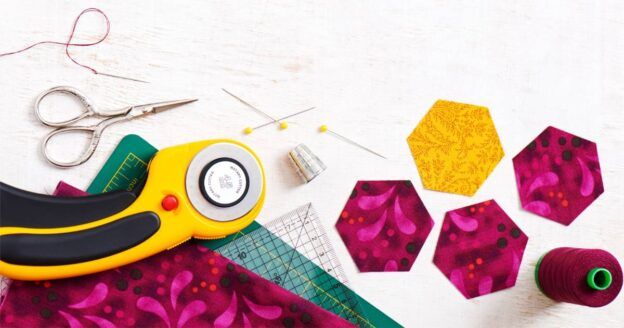
Understanding Stitch Length

We learn something today about stitch length and sewing machine settings. Our team has had all types of machines — machines with stitches per inch, machines with metric settings like 1.5, 2.0, 2.5 and so on. We thought we understood what the setting needed to be for various types of stitching … but we were wrong! So we created this simple stitch length formula and easy tutorial to help all the similarly confused quilters out there.
Let the Learning Begin
Until today, we really didn’t understand how the two types of settings related to one another and never really thought much about it, and then we had an ‘aha!’ moment. It’s easy to understand what stitches per inch means. The setting tells you how many stitches there are in one inch. If the setting is 15, it means there are 15 stitches in one inch.

Its a little less evident what the metric settings like 2.5 mean. They refer to the length of each stitch. If the setting is 2.5, it means that every stitch is 2.5 millimeters long. So you see, when you compare the different types of settings, you’re not comparing apples to apples, so to speak. How do you make sense of it? Turns out there’s an easy formula!
The formula is: There are 25.4 millimeters in one inch. 25.4 divided by the metric length of the stitch (such as 2.5 equals the number of stitches per inch).
Here’s an Example
To figure out how many stitches per inch a 2.5 metric setting will give you: 25.4 divided by 2.5 = 10.16 stitches per inch. To figure it the other way, in case you need to sew 10 stitches per inch and want to know the metric setting, do this: 25.4 divided by 10 = 2.5. If you needed to sew 15 stitches per inch, 25.4 divided by 15 = 1.69, round up to 1.7 for the metric setting. Easy Peasy!

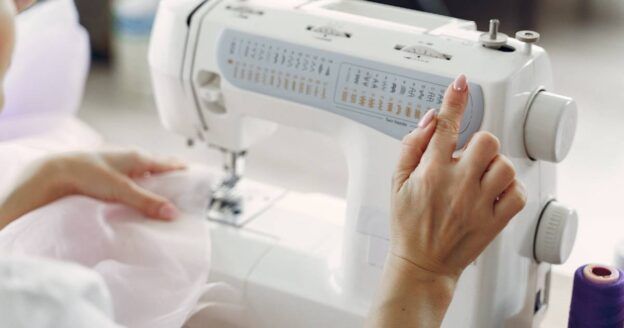
Another Stroke of Genius
While doing this research, we had another light bulb moment. When you adjust the stitch length, you aren’t telling the needle to do something different, you’re telling the feed dogs to do something different. The various settings tell the feed dogs how much fabric to feed before another stitch is made. Check out this helpful explanation below:
✓
Shortening the stitch length reduces the amount of fabric that is fed under the presser foot before the needle comes down.
✓
Lengthening the stitch length increases the amount of fabric that is fed under the presser foot before the needle comes down.
We hope that with this stitch length formula and easy tutorial, everything will now make perfect sense! If you have any helpful tips, tricks, or formulas, be sure to let us know on Instagram, Facebook, or the comments below.
Enjoying this article? Sign up for our newsletter!


Really enjoyed the article on stitch length.. I also read your article on making your own quilt labels.